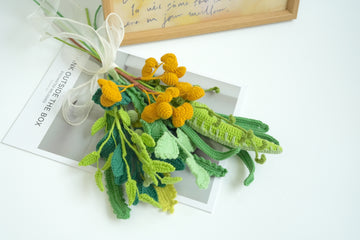
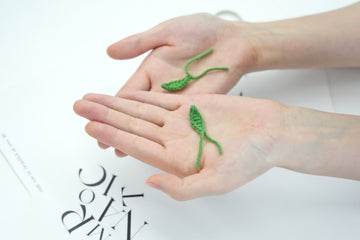
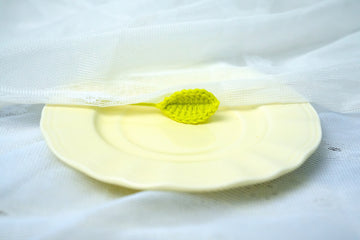
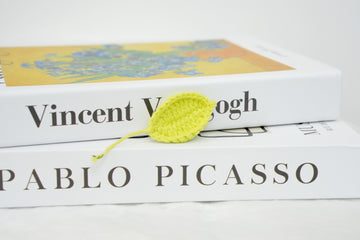
Hey there, fellow crocheters! Today, I'm thrilled to share with you my latest obsession: the Regular Hairpin Leaf. Inspired by the delicate veins of leaves I spotted on my morning walks, this pattern brings a touch of nature's elegance to your projects.
Don't worry if you're new to hairpin lace - this leaf is perfect for beginners! With just basic crochet skills and a hairpin lace loom, you'll have a beautiful leaf in about an hour.
Hairpin lace has been around since the 19th century, originally made using actual hairpins! Now, let's give this vintage technique a modern, leafy twist. Ready to start?
Pin for Later
Grab your hooks and pin this pattern - let's create some leafy magic together!

Details & Usage
Your finished Regular Hairpin Leaf will measure approximately 3-4 inches long and 0.8 inches wide, making it a versatile addition to your crochet repertoire. These charming leaves are perfect for adding a natural touch to various projects. Use them to embellish hats, bags, or scarves for a whimsical flair. Attach them to hairpins or headbands for a delightful hair accessory.
Create a garland of leaves for a unique home decor piece or incorporate them into a woodland-themed baby mobile. They also make lovely appliques for blankets or cushions, bringing a touch of the outdoors inside.
For a special touch, use them as gift toppers or create a bunch for a long-lasting bouquet. The possibilities are endless with these delicate, handcrafted leaves!
Materials needed for
- Yarn - Loopara 4ply combed cotton (Green 12)
- Hook - 2.0mm
- Scissors

Abbreviations (US Terms)
- Ch - Chain
- Sc - Single crochet
- Hdc - Half double crochet
- Dc - Double crochet
- Sl - Slip stitch
Crochet Regular Hairpin Leaf Pattern
Create a foundation chain.

Round 1: Chain 10, add wire, single crochet in 2nd chain from hook, 2 half double crochet, 3 double crochet, 2 half double crochet, 3 single crochet in next stitch, 2 half double crochet, 3 double crochet, 2 half double crochet, single crochet, slip stitch to join, chain 1.
Tips: Ensure your foundation chain is the correct length for your desired leaf size. Adding wire helps the leaf hold its shape. Take care to maintain even tension throughout for a uniform leaf appearance. Use stitch markers to keep track of your pattern repeats if needed.
Variations
Why settle for just one type of leaf when you can create a whole forest? Try experimenting with different sizes - make some tiny, delicate leaves for a fairy garden feel, or go big and bold for a tropical vibe. Play with the shape by adjusting the number of stitches in each section. Create pointy leaves for a maple look, or round out the edges for a more classic shape.
How about adding some curves for a whimsical touch? Mix and match different shapes to create your own unique foliage family!
Now that you've got your leaf shapes sorted, let's make those leaves truly pop! Consider adding some texture by working with variegated yarn or mixing different yarn weights. For a touch of sparkle, try weaving in some metallic thread or attaching tiny sequins. Feeling artistic? Use fabric paint to add delicate veins or create a watercolor effect.
You could even embroider little details like dewdrops or ladybugs. For a 3D effect, try crocheting tiny flowers or butterflies to attach to your leaves. And don't forget about edging - a simple picot stitch around the border can add a lovely finishing touch.
Let your creativity run wild and watch your leaves come to life with these embellishments. The possibilities are endless when it comes to customizing your crocheted leaves!
What's Next?
Crochet lovers, share your Regular Hairpin Leaf creations! Post your leafy masterpiece on Facebook, pin the pattern on Pinterest, showcase details on Instagram with #CrochetHairpinLeaf, or tweet your progress on Twitter. Let's inspire our crafty community across all platforms!


