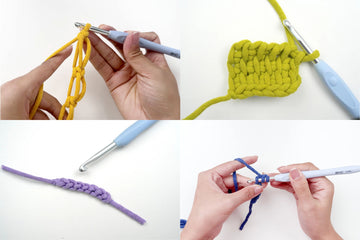
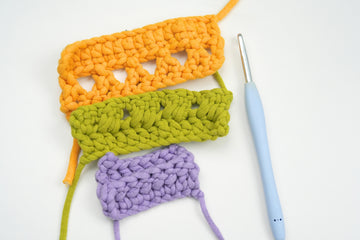
Get ready to add a touch of whimsy to your crochet projects with the Y Stitch! This fun and unique technique is like drawing little Y's with your yarn, creating a delightful texture that's sure to catch the eye.
The Y Stitch, sometimes called the Forked Cluster or Split Cluster, is a variation of the cluster stitch family. It's typically made by working a partial double crochet, then splitting off into two branches – hence the Y shape. While it might not have a standard abbreviation, you might see it described as "Y-st" or "forked cl" in some patterns.
So, why should you give the Y Stitch a try? Well, it's a fantastic way to add visual interest and depth to your crochet work. Whether you're looking to create a unique texture in a scarf, add some flair to a blanket, or experiment with new stitch patterns in your garments, the Y Stitch offers a playful and distinctive look. It's like adding little bursts of fireworks to your fabric!
Plus, once you get the hang of it, the Y Stitch is surprisingly fun to work. It breaks up the monotony of basic stitches and gives your hands something new and engaging to do. Ready to Y up your crochet game? Stick around for our video tutorial and step-by-step guide. We'll have you forking out these stitches in no time!
Pin for later
Pin this Y Stitch tutorial – it's your secret weapon for adding a quirky, eye-catching texture to your next crochet adventure!

Y Stitch Symbol

Y Stitch Video Tutorial
Materials Needed
- Yarn: The recommended is 5 mm yarn. The reason why we chose this thick yarn is to make teaching easier. For beginners practicing, thicker yarn is also recommended.
- Hook: To match 5 mm yarn, a 6 mm hook is the best pairing.
Preparation

Step 1. Begin by crocheting a row of regular double crochet stitches.

Step 2. Chain 3 to start the new row.
How to Y-st Stitch – Step by Step for Beginners

Step 1. Yarn over twice, so you have 3 loops on your hook.

Step 2. Insert your hook into the 3rd stitch, yarn over and pull up a loop. You now have 4 loops on your hook.

Step 3. Yarn over and pull through 2 loops.


Step 4. Yarn over again and pull through 2 more loops. Repeat this until you have only one loop left on your hook.

Step 5. Chain 1.

Step 6. Yarn over once, then insert your hook into the space between the two horizontal bars of the stitch you just made.

Step 7. Pull up a loop. You now have 3 loops on your hook.

Step 8. Yarn over and pull through 2 loops.

Step 9. Yarn over again and pull through the last 2 loops. Repeat this until you have only one loop left on your hook.
You've just completed your first Y stitch!
FAQ
What does y mean in crochet?
In crochet, "y" can refer to a few different things depending on the context. Most commonly, it's part of the Y stitch, which creates a Y-shaped texture. It can also mean "yarn over" in some abbreviated instructions. In colorwork patterns, "y" might represent a specific color. Always check your pattern's key or glossary for the specific meaning.
More Beginner Crochet Stitch Tutorials
Dive deeper into crochet with these fundamental stitches. Each tutorial will help you expand your skills and create more diverse projects.
- Double Crochet (dc)
- Open Picot
- Single Crochet 2 Together (sc2tog)
- Single Crochet Increase (sc inc)
- Single Crochet Increase (sc inc)


