Welcome, fellow crochet enthusiasts!
Today, I'm thrilled to share with you a project that's been climbing its way into my heart: the Climbing Rose. Inspired by those enchanting vines that adorn garden trellises, this crochet pattern brings a touch of romantic whimsy to your crafting adventures.
Did you know that climbing roses can grow up to 20 feet tall in nature? While our crocheted version might not reach such heights, it'll certainly elevate your decor! Stick around for a detailed, step-by-step guide complete with helpful diagrams.
Whether you're a seasoned crocheter or just starting out, you'll find joy in watching these delicate blooms take shape. Let's create some floral magic together!
Pin for later
Pin this Climbing Rose pattern and add a touch of floral elegance to your crochet collection!

Want to add more blooms to your crochet bouquet? I've got a bunch of free tutorials to help you create all sorts of beautiful flowers! Here is our full crochet flower pattern list (updating weekly).
To ensure you can find the right crochet flower patterns you want quickly, I also did some classification for you, all free!
- Large Crochet Flower Pattern list
- Small Crochet Flower Pattern list
- Crochet Rose Pattern list
- Crochet Flower Applique Pattern list
- Crochet Leaf Pattern List
Crochet Climbing Rose Meanings & Usage
Climbing roses have long been symbols of ambition, perseverance, and reaching for the stars. In the language of flowers, they represent a love that overcomes all obstacles, growing stronger with each passing day.
These enchanting blooms have a rich history, dating back to ancient China and Persia. They've graced the walls of castles and cottages alike, adding a touch of romance wherever they grow. In Greek mythology, climbing roses were said to have sprung from Aphrodite's tears, eternally seeking to return to the heavens.
Climbing roses make a wonderful gift for someone embarking on a new journey or facing a challenge. I once gave a potted climbing rose to a friend starting her own business. Years later, she told me how that rose, now thriving on her office balcony, reminded her daily of the growth and beauty that come from nurturing one's dreams.
Whether in a garden or crafted in yarn, climbing roses bring a sense of whimsy and possibility to any space. They're perfect for celebrating milestones, encouraging perseverance, or simply brightening someone's day with a touch of floral magic.
Details of Climbing Rose Crochet pattern

This Climbing Rose crochet pattern is suitable for intermediate crocheters who are comfortable with various stitches and shaping techniques. The project involves creating a one-piece flower, a flower base, and a realistic leaf, making it a satisfying challenge.
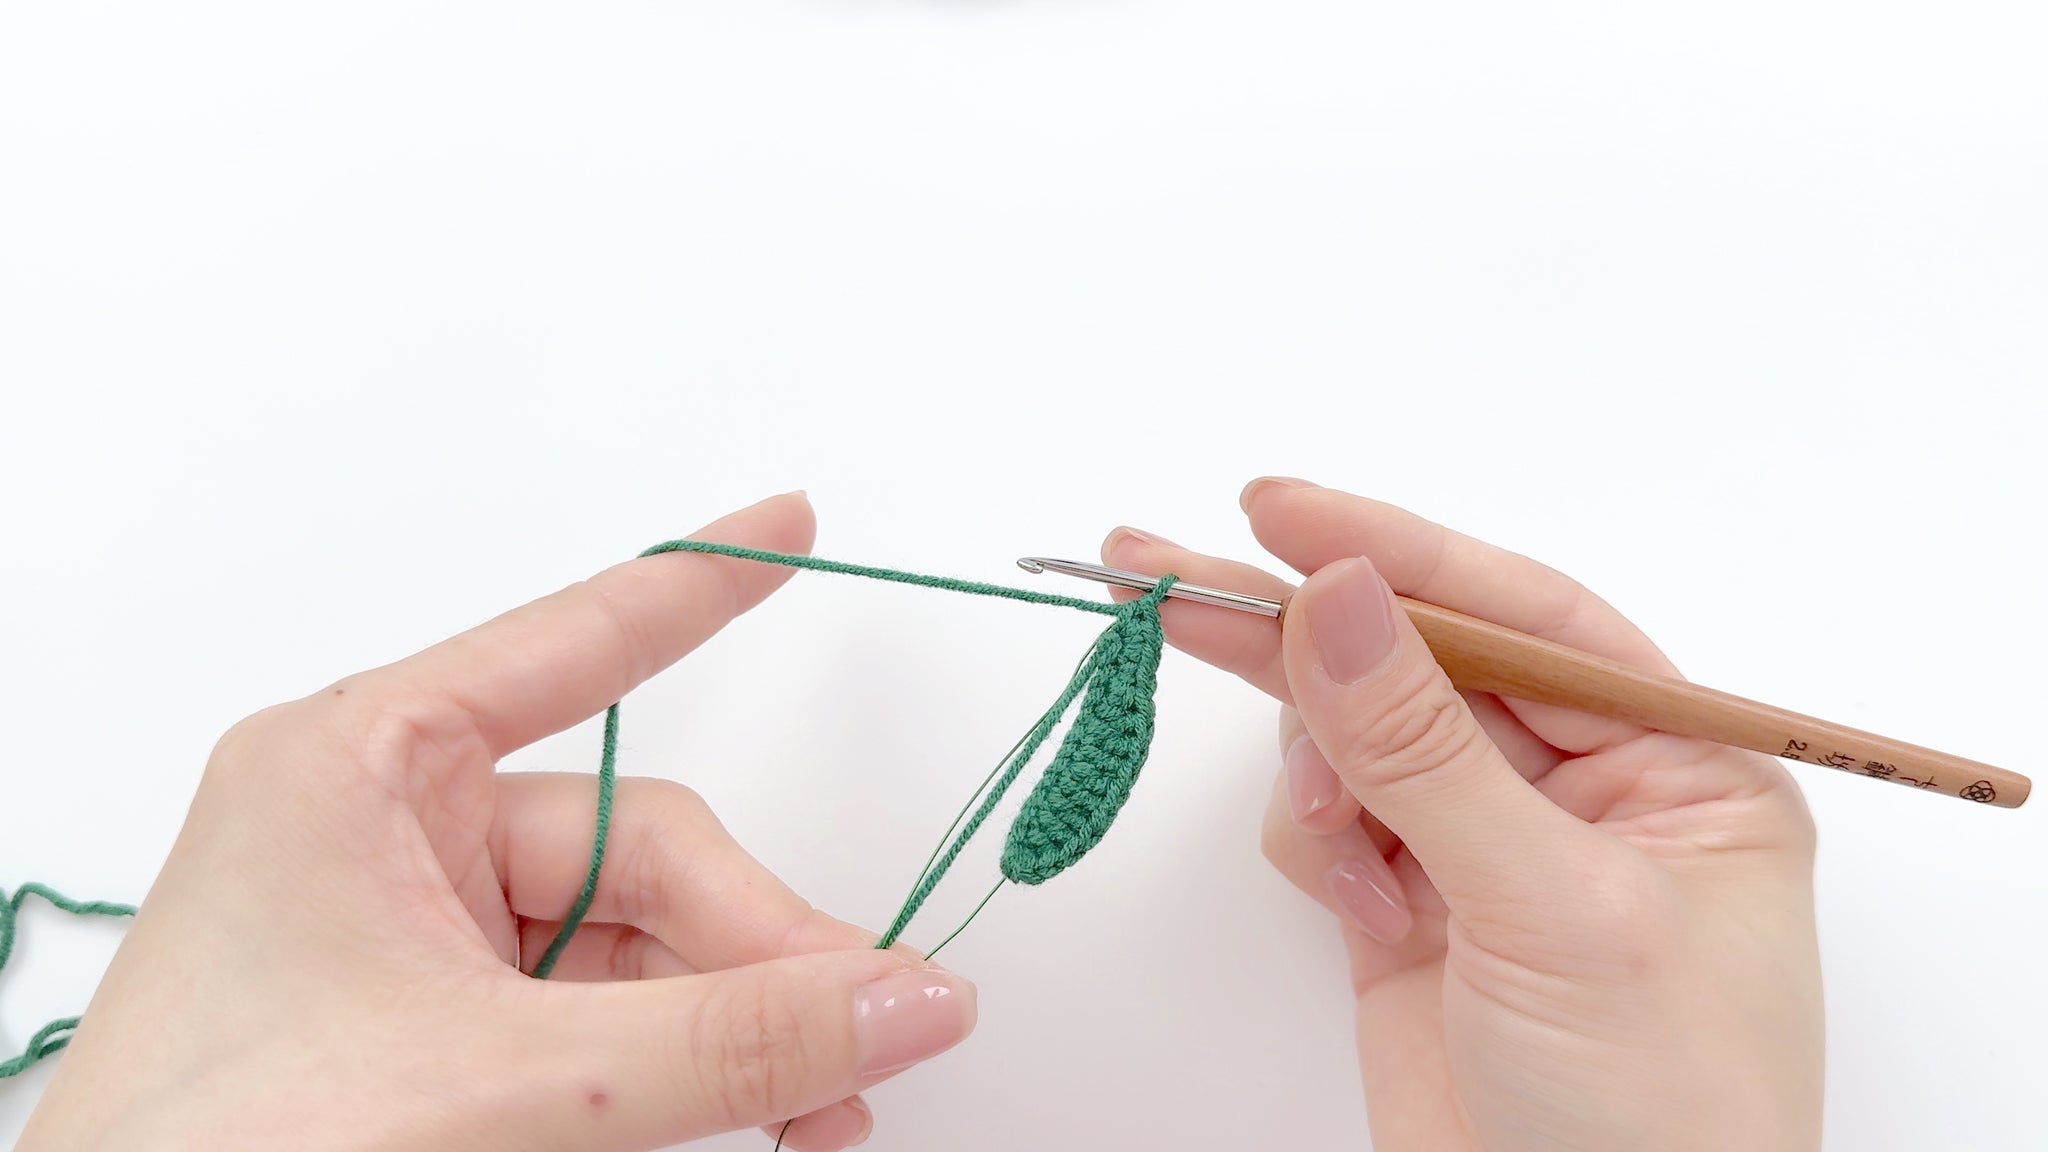
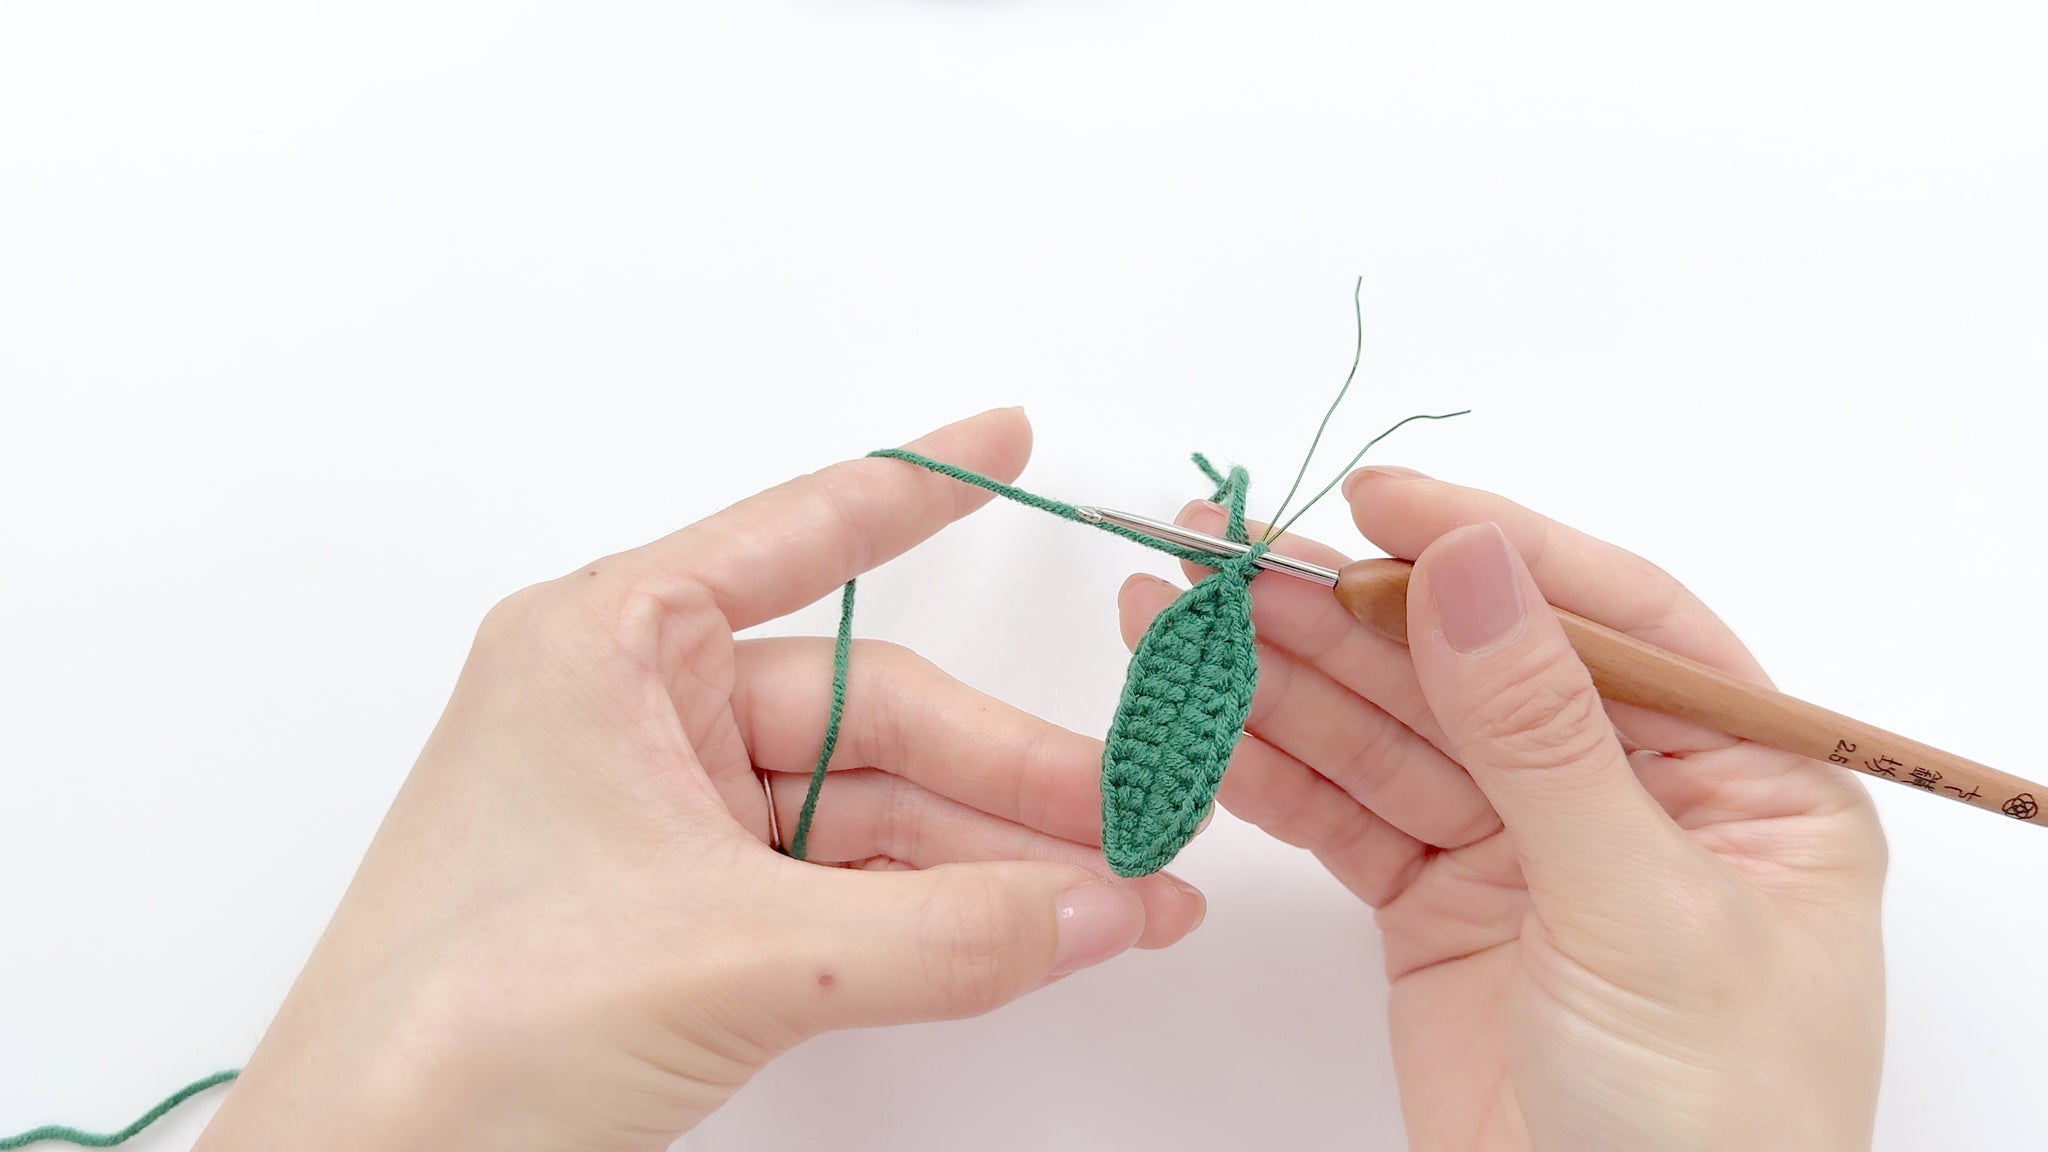
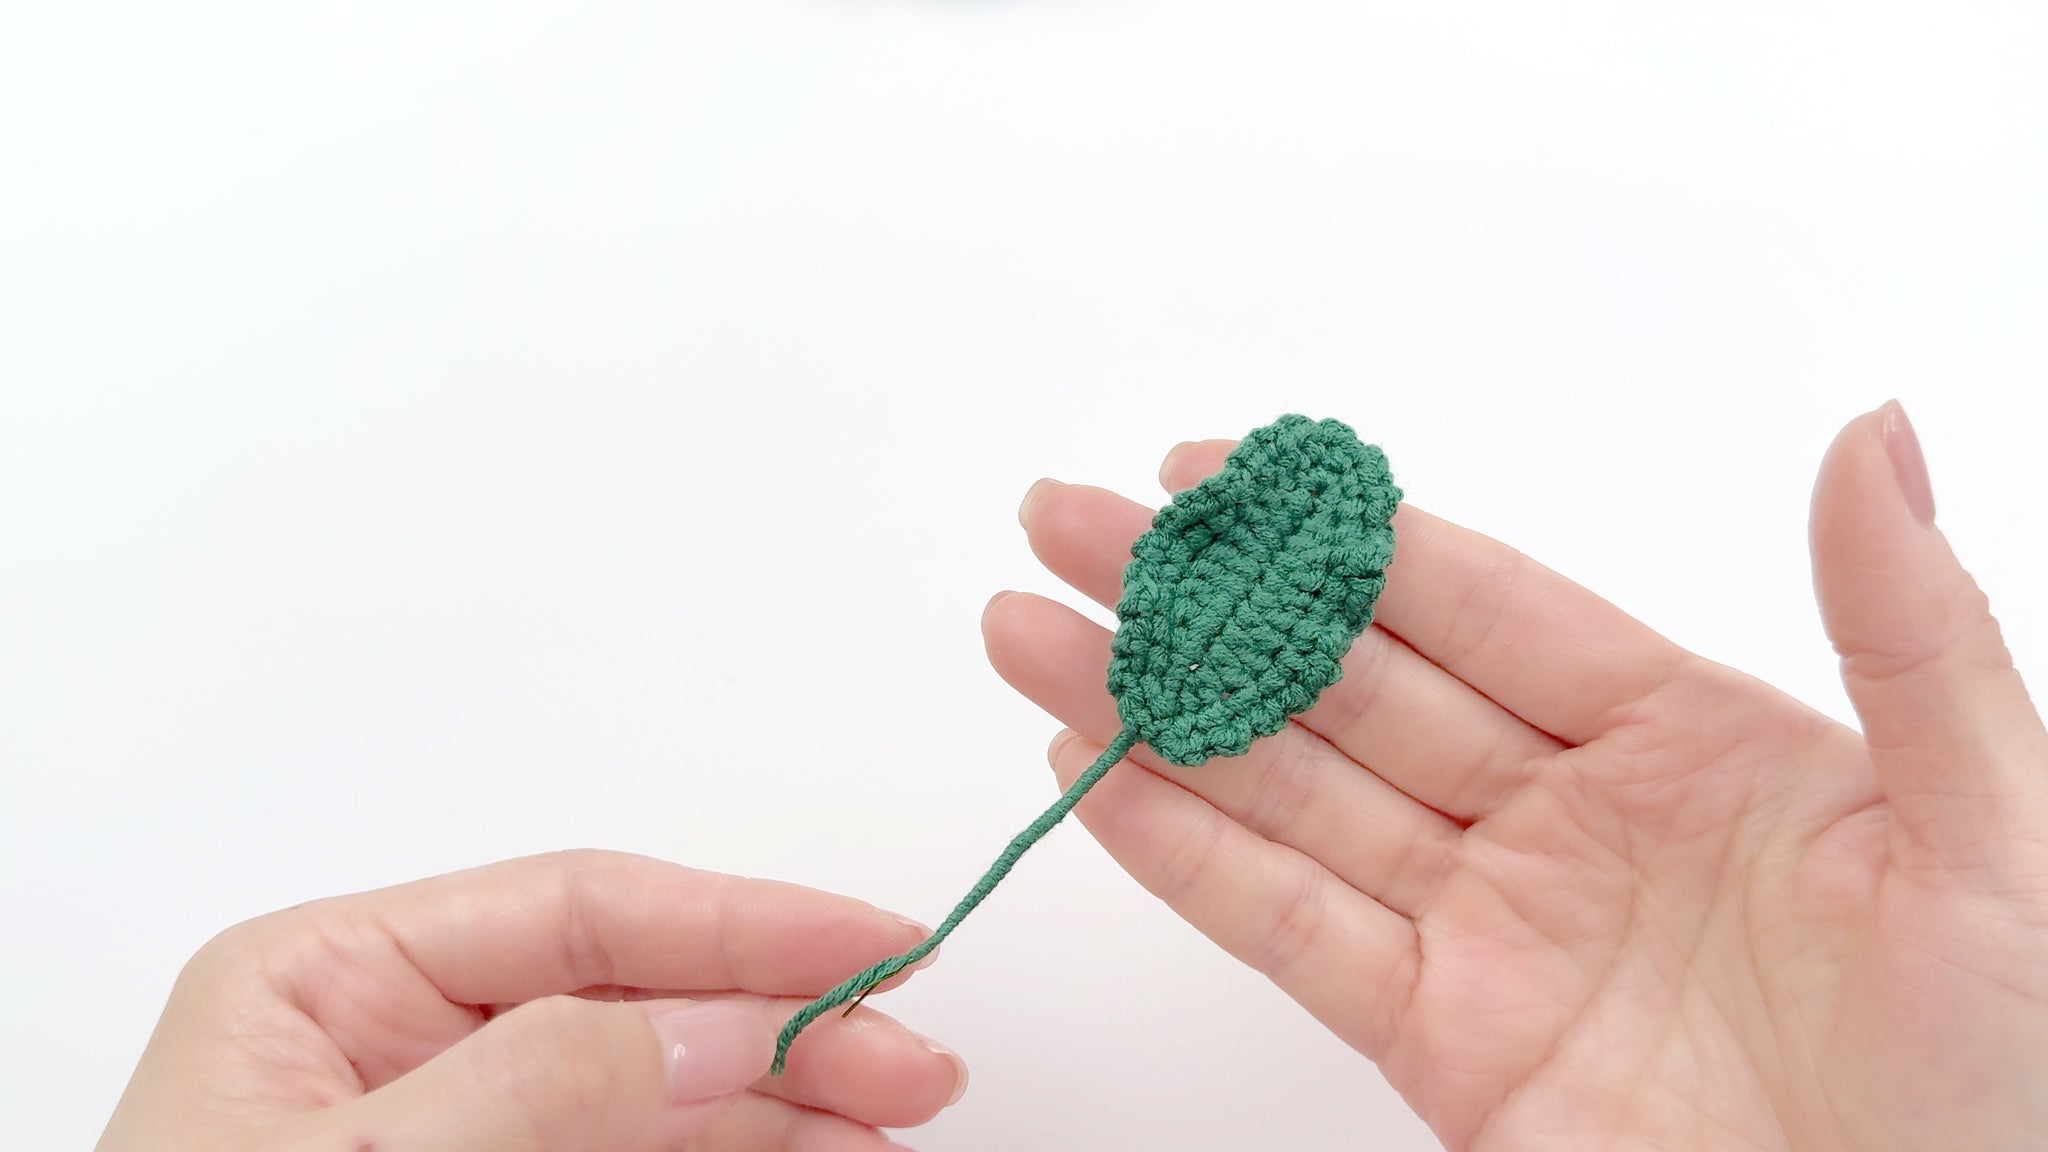
The process includes crocheting a single flower piece with multiple rounds to form the petals, a separate flower base with sepals, and a wire-reinforced leaf. The unique one-piece flower design allows for a seamless, realistic rose appearance.
In nature, climbing roses come in various colors, from pure white to deep red, and can grow up to 20 feet tall. They're known for their vigorous growth and ability to cover structures with beautiful blooms.
This pattern is highly customizable. You can experiment with different yarn colors to create roses in various shades. Adjust the number of flowers and leaves to create climbing rose arrangements of different sizes. You might even add extra petals or modify the leaf shape for a personalized touch.
A single finished Climbing Rose measures approximately 2.3 inches (6 cm) in diameter and 1.6 inches (4 cm) in height, including the base. For a climbing arrangement, you can create multiple roses. A small climbing bouquet of 3-5 roses would measure about 11-13 inches (30-34 cm) in length, perfect for decorating trellises or creating a unique wall hanging.
Crochet Climbing Rose Bouquet Kits

Bring the beauty of a climbing garden indoors with our Climbing Rose Crochet Kit! This all-inclusive package contains premium yarn, tools, and easy-to-follow instructions to create your own elegant floral display. Perfect for intermediate crocheters looking to elevate their skills. Transform your space with timeless, handcrafted blooms today!
Materials Needed
- Yarn - Loopara 4ply combed cotton (Green 18 and Blue 37)
- Hook - 2.5mm
- Flower Rod - 30cm long (No.2)
- Iron wire - 0.5mm diameter
- Hot Melt Adhesive
- Scissors
- Stitch Marker
- Needle-nose pliers
Abbreviations (US Terms)
- ch - chain
- sc - single crochet
- hdc - half double crochet
- dc - double crochet
- tr - treble crochet
- sl - slip stitch
- inc - increase
- sk - skip
- Magic ring
Crochet Climbing Rose Pattern
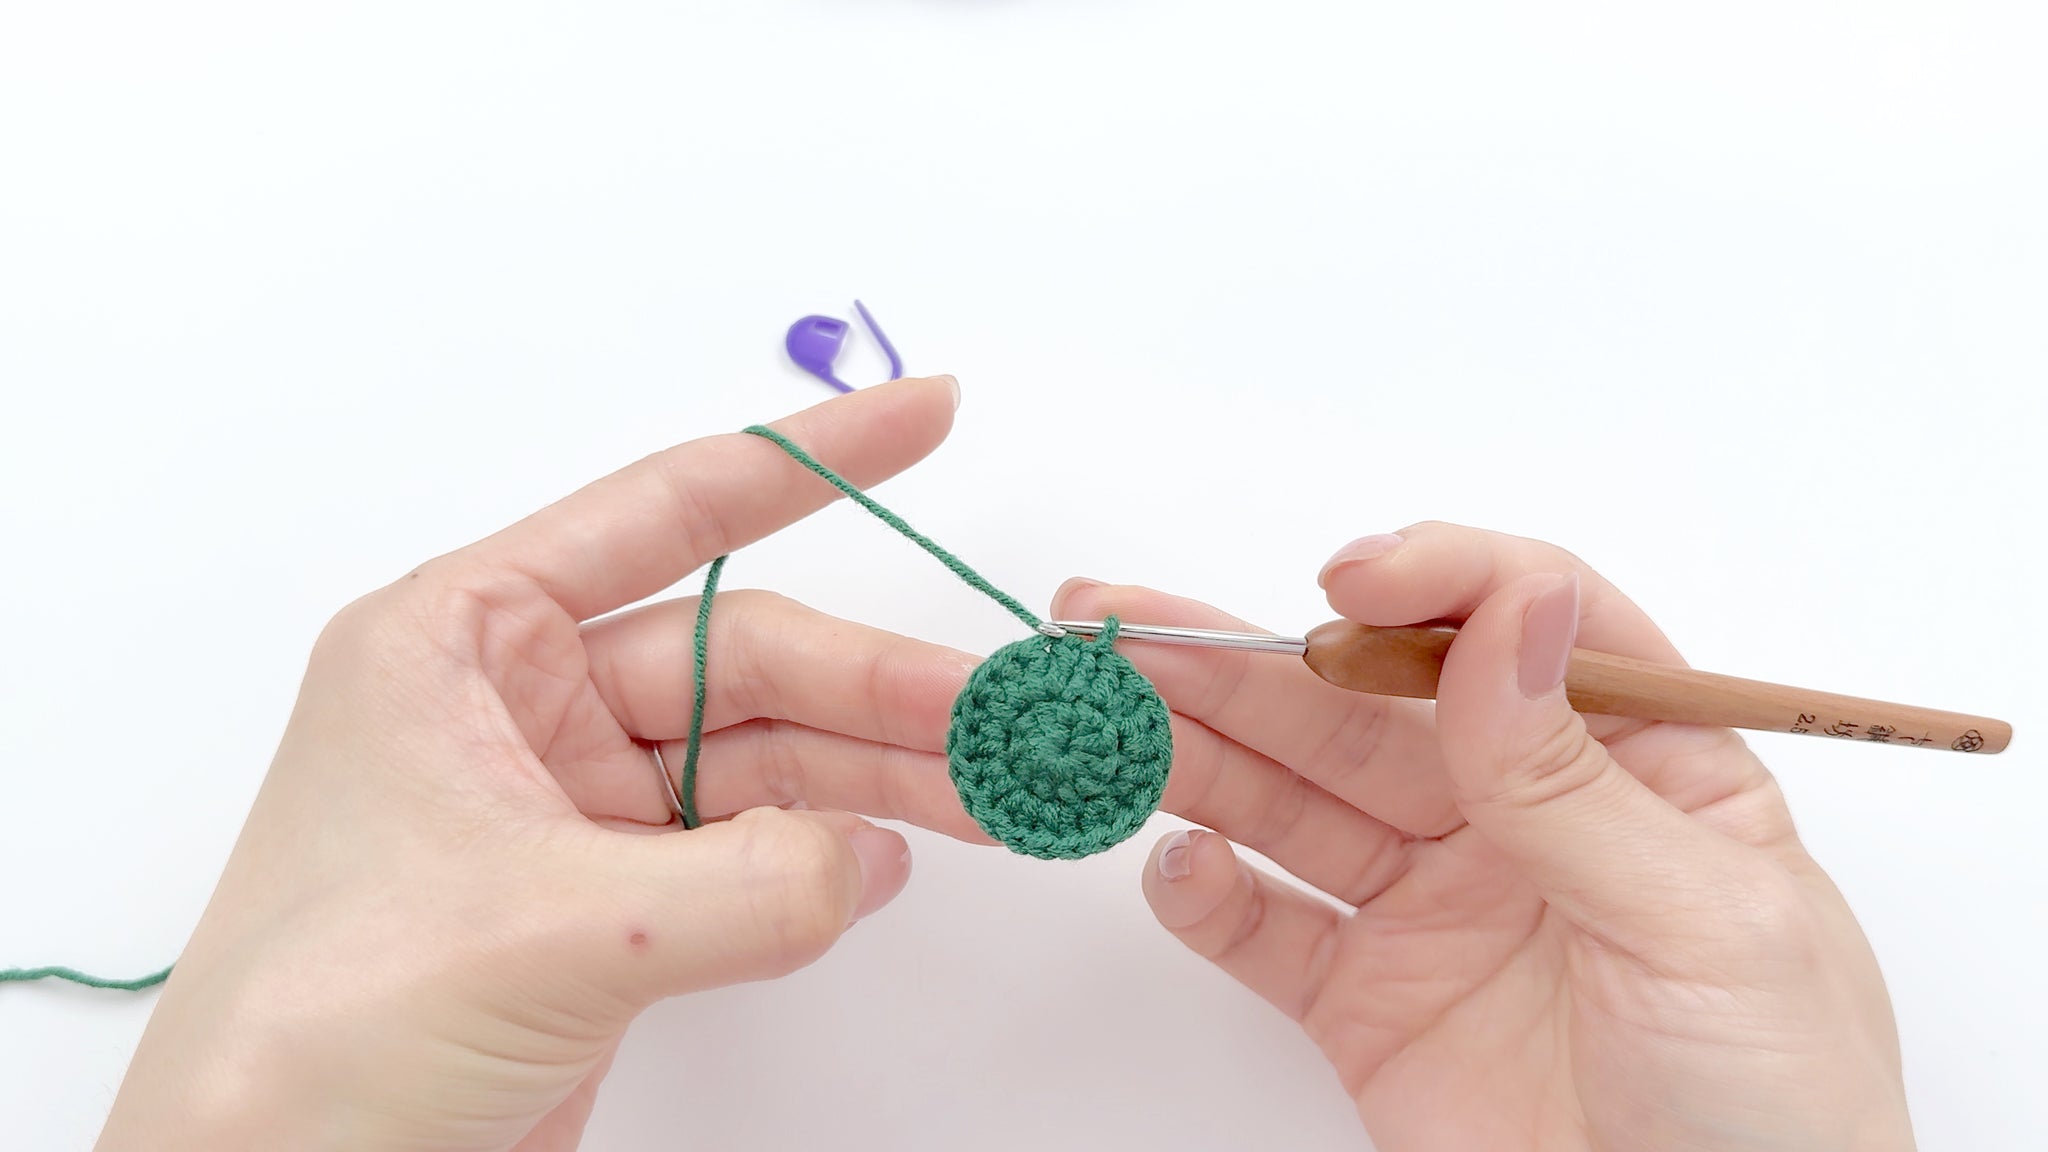
How to Crochet Flower (Make 1)

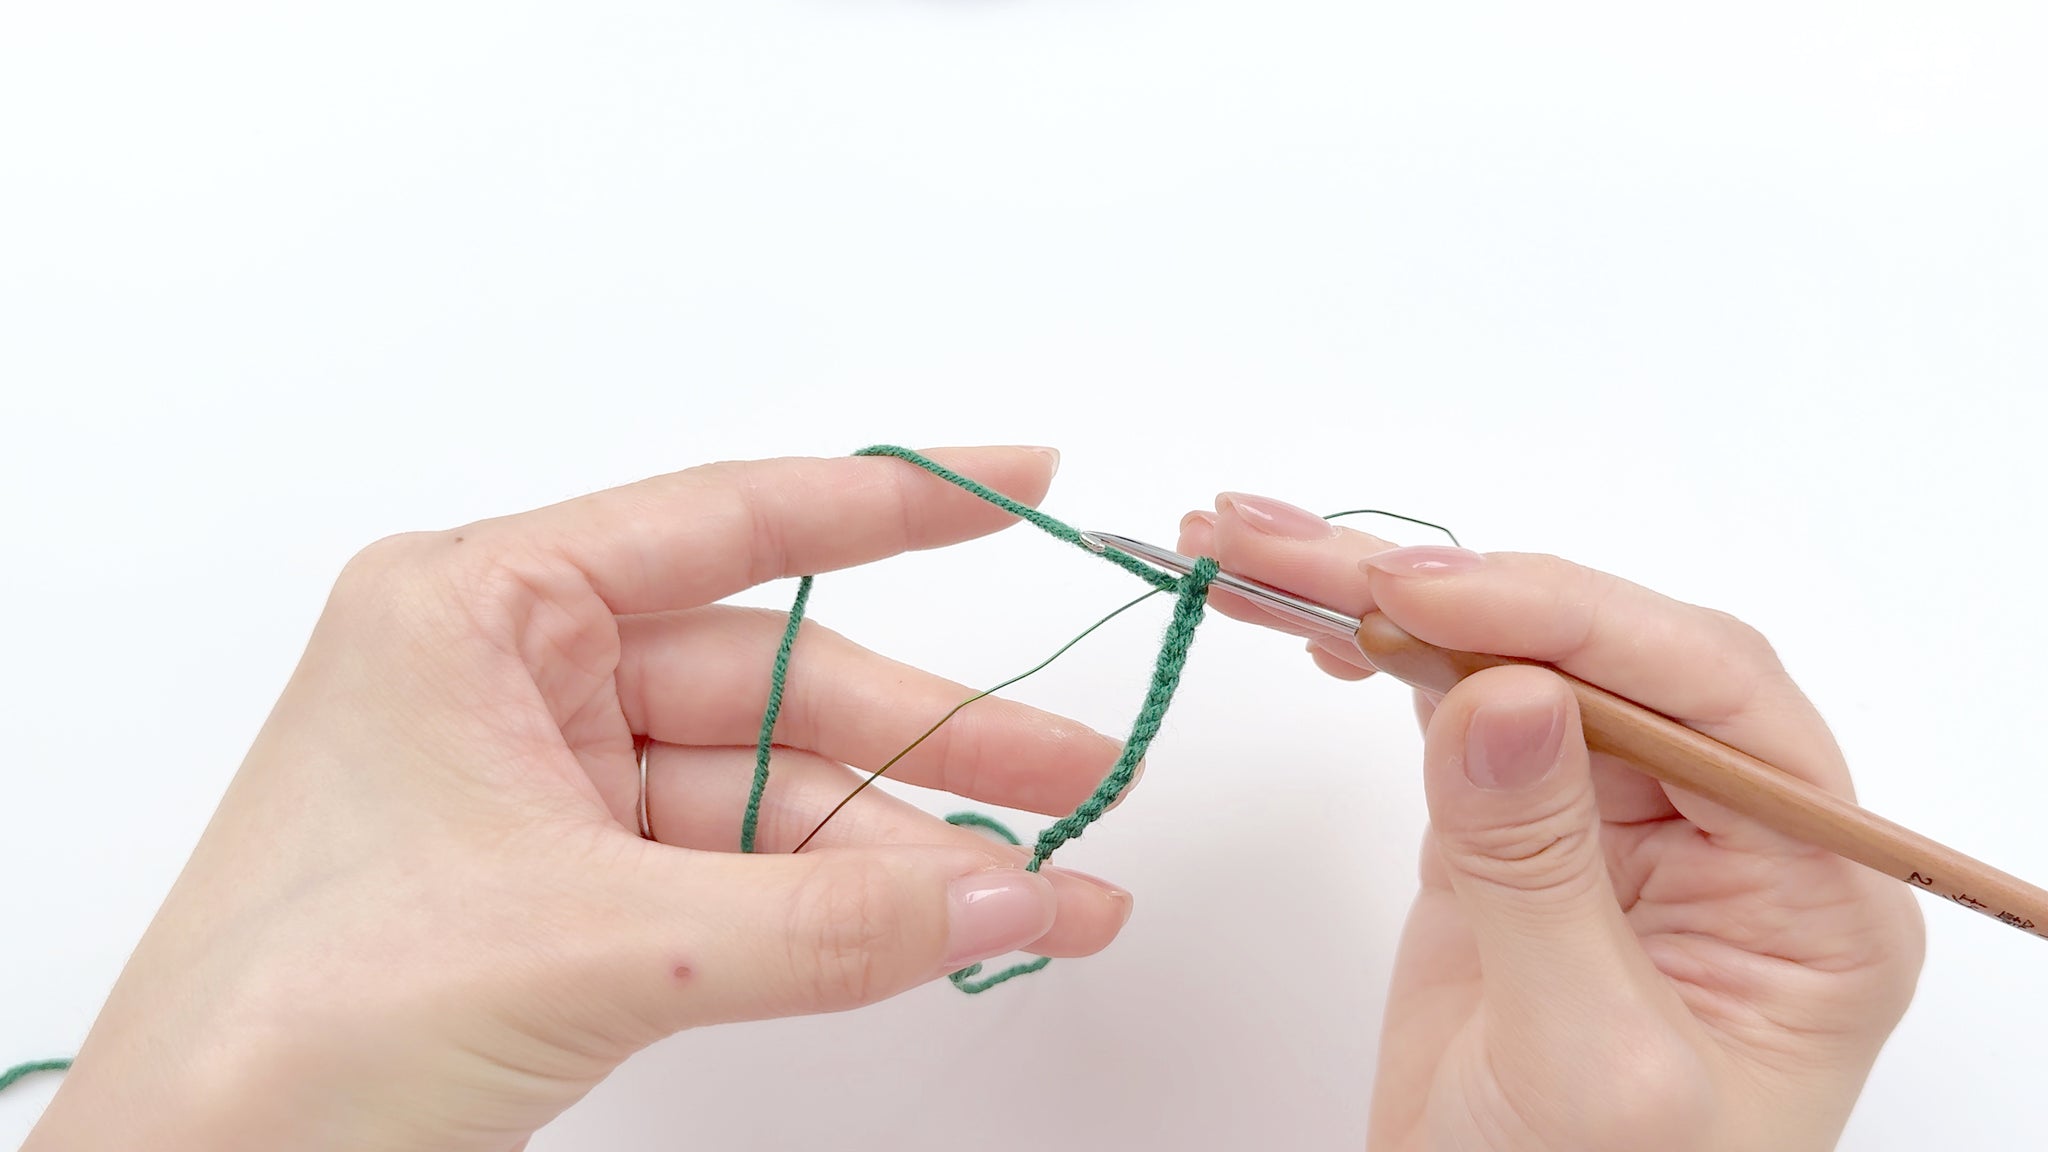
Round 1: Chain 30. Starting from the 3rd chain from the hook, work 28 half double crochets. Chain 5, then turn your work.

Round 2: Double crochet in the first stitch. [Skip 2 stitches, then work (double crochet, chain 2, double crochet) in the next stitch] Repeat this 8 times. Double crochet in the last stitch. Chain 3, then turn your work.

Round 3: Work 8 double crochets in the skipped 2-stitch space from Round 2. Chain 3, turn. Work 8 double crochet increases (2 dc in each stitch). Chain 3, turn. Work (1 dc, 1 dc increase) 8 times. Chain 8, then slip stitch into the chain-2 space from Round 2. Chain 3.
Repeat Round 3 eight more times to create a total of 9 petals.

Tips: This one-piece flower is worked back and forth, turning the piece at the end of each row. When repeating Round 3, make sure each petal aligns properly with the previous round's spaces. Take care to keep the long chains (ch 8) loose enough to form the petal shape but not so loose that they distort the flower.
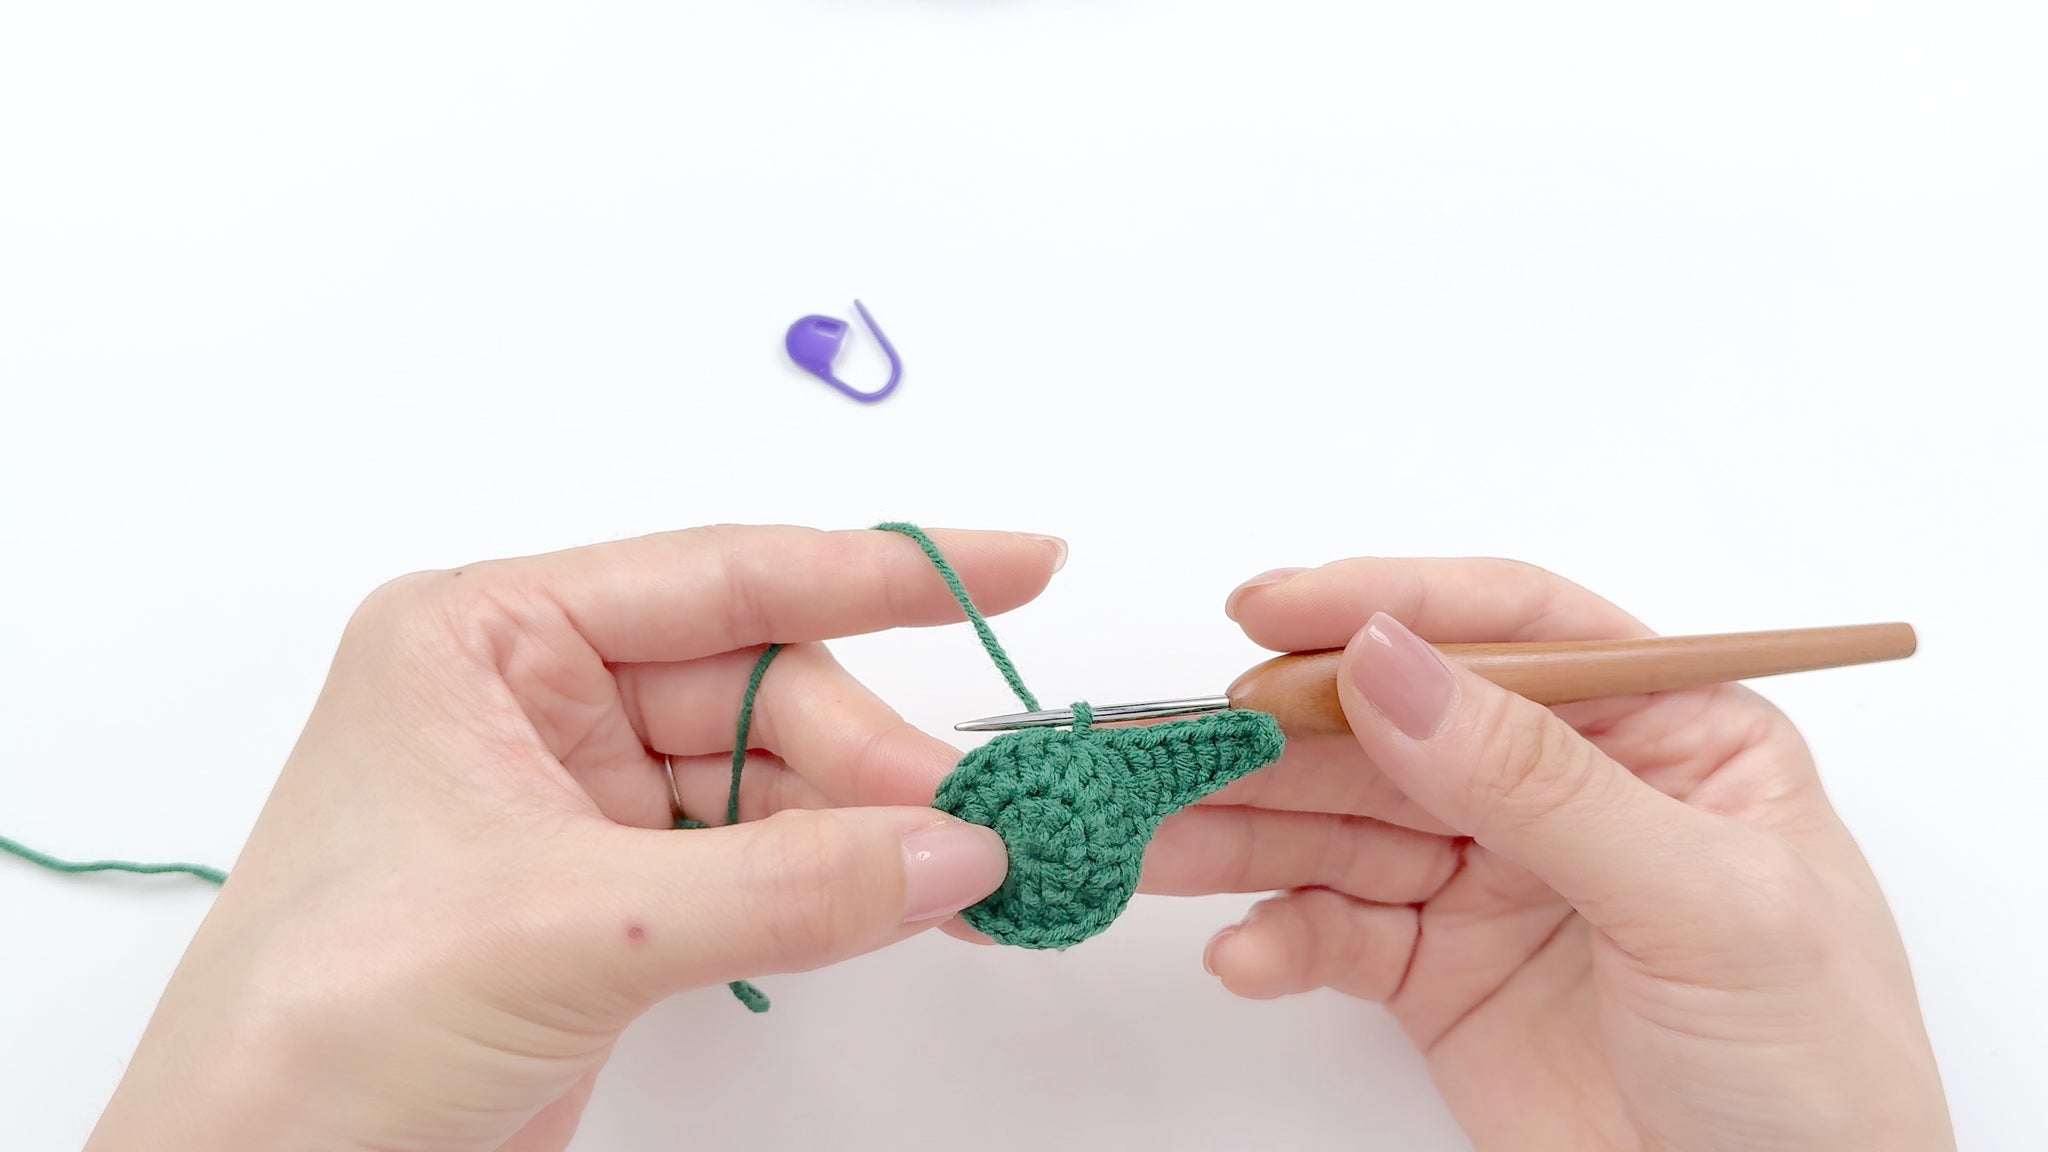
How to Crochet Flower Base (Make 1)

Crochet Climbing Rose Assemble
How to Assemble Flower and Flower Base:

Step 1: Take a #2 floral wire and bend one end using pliers. Insert this bent end through the center of the first petal of your crocheted flower. Secure it in place with a small amount of glue.

Step 2: Starting from the first petal, carefully roll the petals from left to right, forming the shape of the rose. Ensure each petal overlaps slightly with the previous one for a realistic look.

Step 3: Once all petals are rolled, insert the other end of the wire through the center of the flower base. Carefully position and glue each sepal from the base in place around the bottom of the flower.
Tips:
- When applying glue to attach petals, use small amounts to avoid excess that might stick to other petals or be visible in the finished flower.
- For a neater appearance, you can secure one sepal from the flower base to the end of the rolled flower. This helps to create a smoother transition between the flower and its base.
- Allow the glue to dry completely before handling further to ensure all parts are securely attached.
How to Assemble Stem and Leaf:

Step 1: Begin at the bottom of the flower base. Using green thread or floral tape, start wrapping tightly around the wire stem.

Step 2: Continue wrapping the stem to your desired length. As you wrap, add leaves at intervals along the stem. Secure each leaf by wrapping the thread or tape around its base and the main stem.

Step 3: Once you've added all your leaves and reached your desired stem length, continue wrapping to the end of the stem. Secure the end of the thread or tape with a small amount of glue.
Tips:
You can adjust the number and placement of leaves based on your preference or the specific climbing rose variety you're recreating.
More Free Crochet Patterns
If you love to crochet, I think you’ll enjoy these lovely flowers.
What's Next?
Crochet enthusiasts, let your Climbing Rose bloom across social media! Snap a photo of your finished creation and share it on Facebook, Pinterest, Instagram, or Twitter using #ClimbingRoseCrochet. Your handmade masterpiece could inspire fellow crafters worldwide! Share your crochet journey, offer tips on shaping the petals, or showcase your unique color combinations. By spreading the joy of this project, you're nurturing a global community of makers. Who knows? Your post might be the spark that ignites someone's passion for intricate floral crochet. Let's create a virtual trellis of shared creativity and beautiful blooms!


