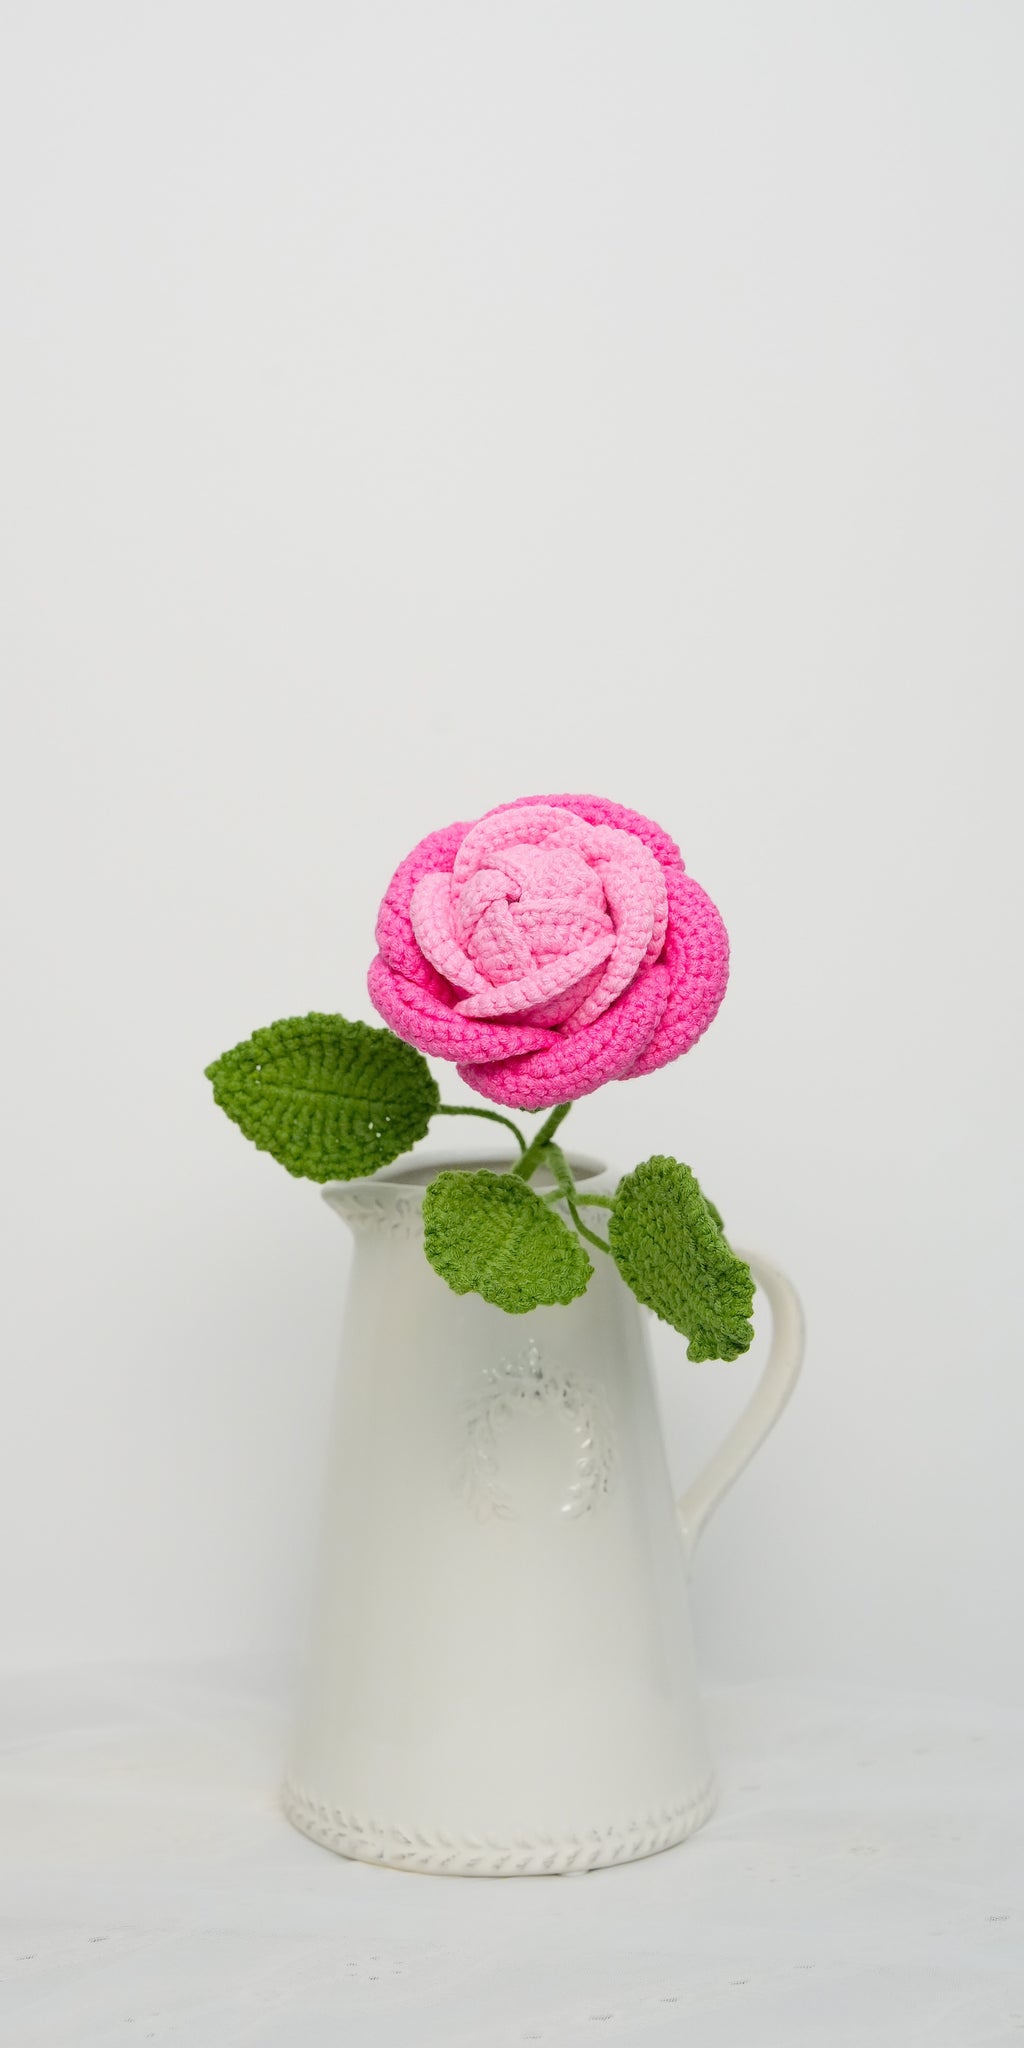
Welcome, fellow crochet enthusiasts! Today, I'm thrilled to share my pattern for a stunning China Rose. Inspired by a walk through my friend's garden, I've captured the essence of these elegant blooms in yarn.
Did you know China Roses symbolize eternal love? How fitting for a flower you can craft to last forever!
Ready to create your own everlasting blossom? I've got your back with clear, step-by-step instructions and helpful diagrams. Whether you're a beginner or a pro, you'll be amazed at how easily this delicate flower takes shape in your hands. Let's get hooking!
Pin for later
Don't forget to pin this pattern for later – your future self will thank you when you're ready to create your own beautiful China Rose!
Want to add more blooms to your crochet bouquet? I've got a bunch of free tutorials to help you create all sorts of beautiful flowers! Here is our full crochet flower pattern list (updating weekly).
To ensure you can find the right crochet flower patterns you want quickly, I also did some classification for you, all free!
- Large Crochet Flower Pattern list
- Small Crochet Flower Pattern list
- Crochet Rose Pattern list
- Crochet Flower Applique Pattern list
- Crochet Leaf Pattern List
Crochet China Rose Meanings & Usage
China Roses, with their delicate petals and enchanting fragrance, have captivated hearts for centuries. These beautiful blooms symbolize eternal love and beauty, making them a perfect gift for that special someone in your life.
In Chinese mythology, these roses are associated with Chang'e, the goddess of the moon. Legend has it that she drank an elixir of immortality and ascended to the moon, where China Roses bloom eternally. This connection to the divine adds a touch of magic to these already stunning flowers.
Throughout history, China Roses have been cherished by royalty and commoners alike. They've graced the gardens of emperors and inspired countless artists and poets. I once visited a centuries-old garden in Suzhou, where ancient China Rose bushes still flourish, their blooms a living link to the past.
In my experience, China Roses make a wonderful gift for anniversaries, birthdays, or simply to show someone you care. Their timeless beauty and rich symbolism speak volumes. Whether you're expressing romantic love, deep friendship, or family bonds, a China Rose conveys your feelings with grace and elegance. So next time you want to make a heartfelt gesture, consider the poetic charm of a China Rose – it's a gift that truly keeps on giving.
Details of China Rose crochet pattern
This China Rose crochet pattern is perfect for intermediate crocheters looking to challenge themselves with a delightful project. While it requires some precision, the step-by-step instructions make it accessible for those ready to expand their skills.
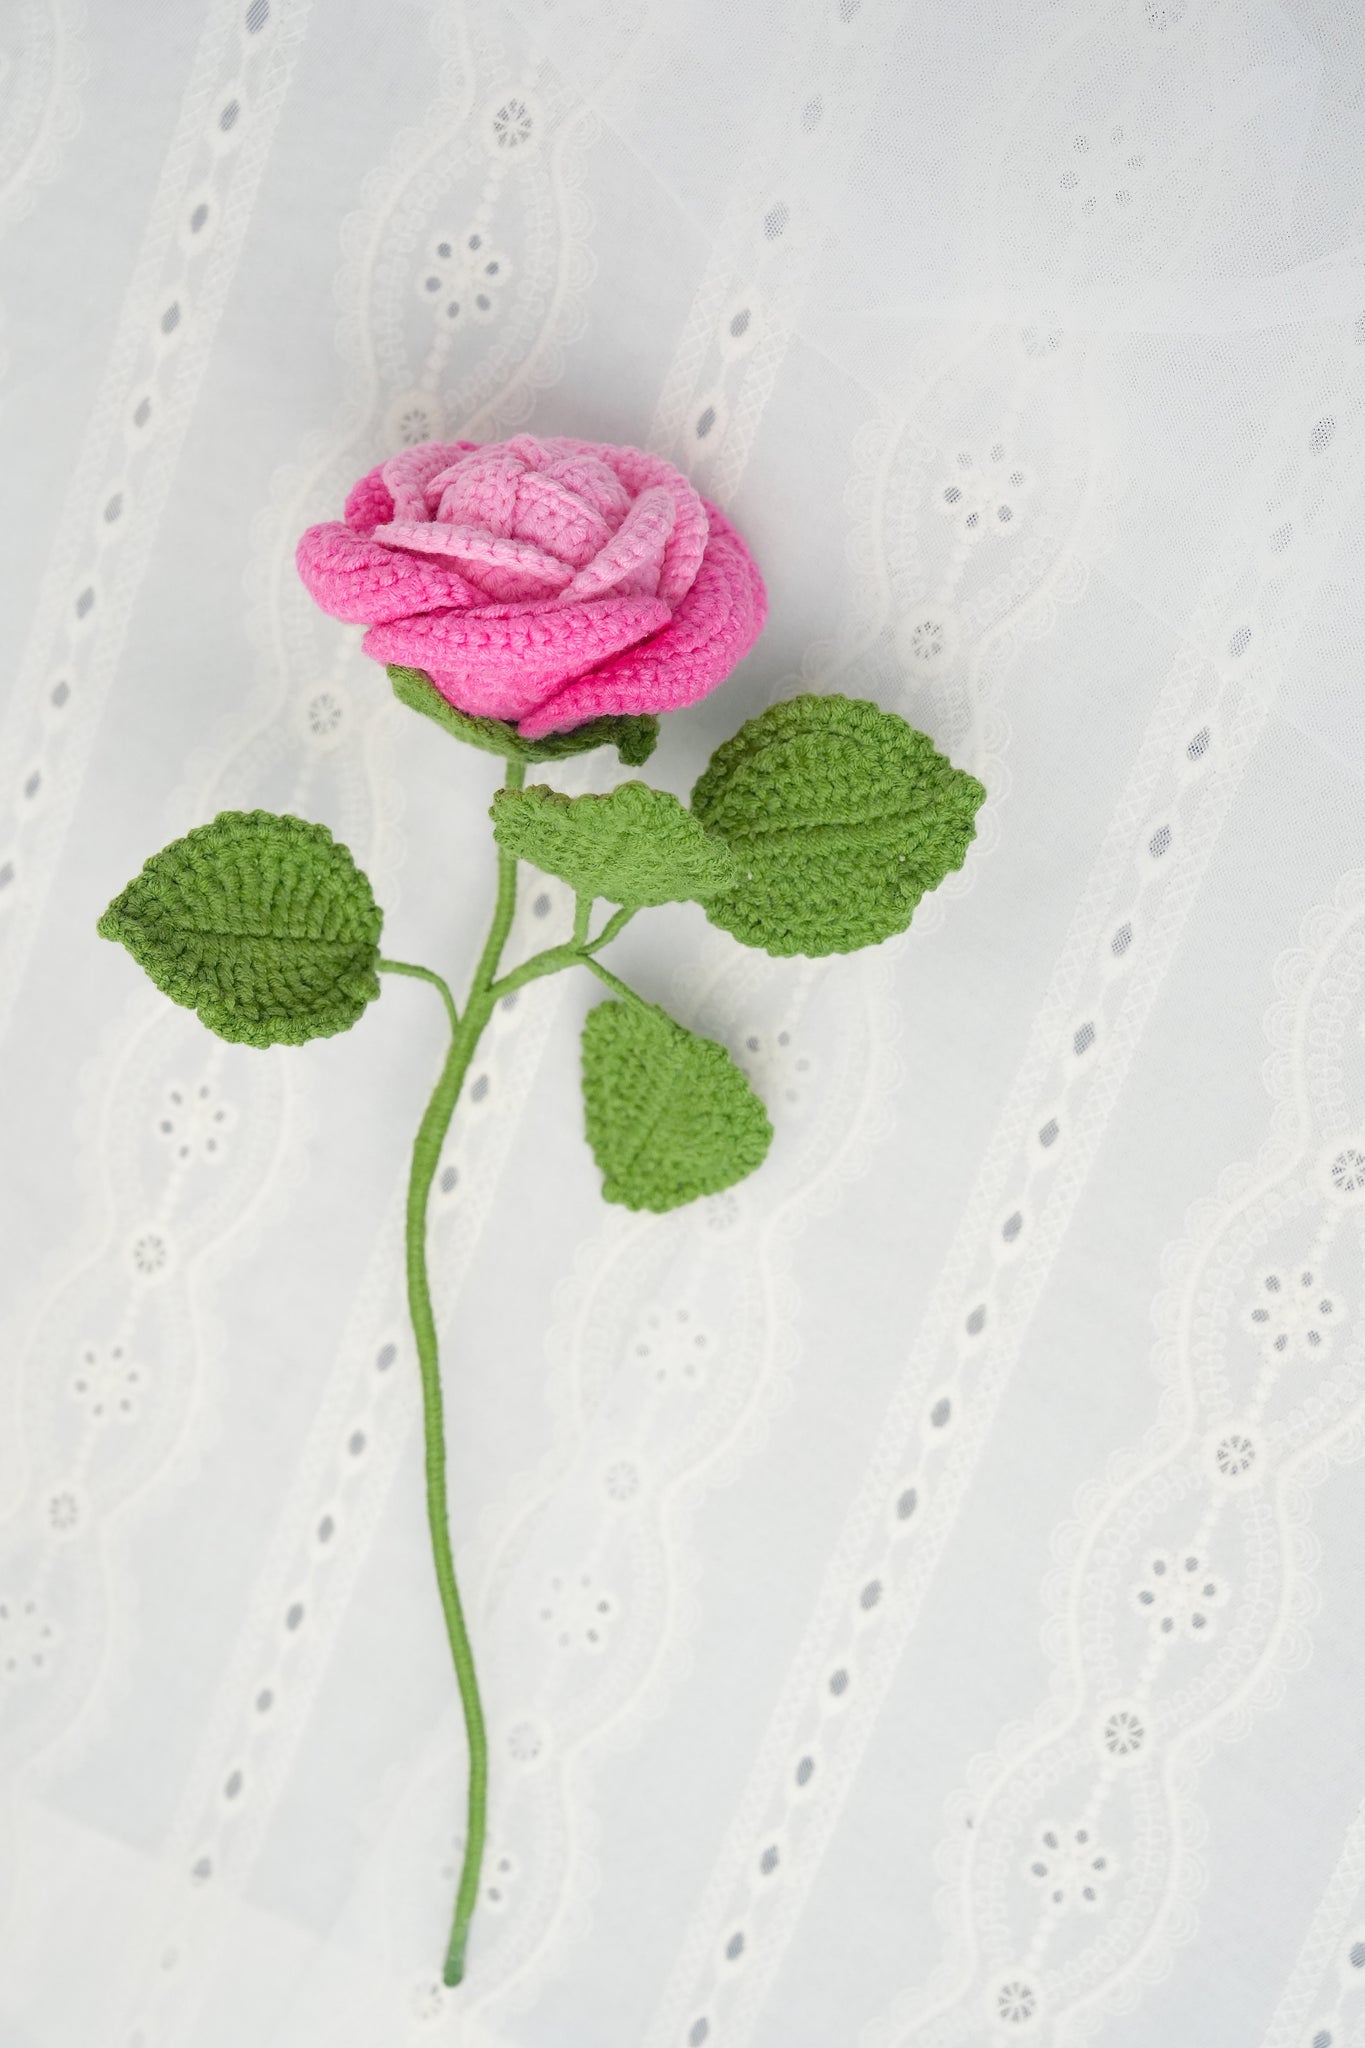
The pattern guides you through creating a beautiful, lifelike rose with 15 petals in three sizes: 5 small, 5 medium, and 5 large. You'll also craft 3 leaves (2 small and 1 large) to complement the flower. The process involves crocheting individual components and then assembling them with wire for a realistic, shapeable stem.
In nature, China Roses come in a variety of colors, from pure white to vibrant reds and pinks. Interestingly, the color can change as the flower ages, sometimes darkening or developing unique patterns. This crochet version captures the essence of a classic pink China Rose in full bloom.
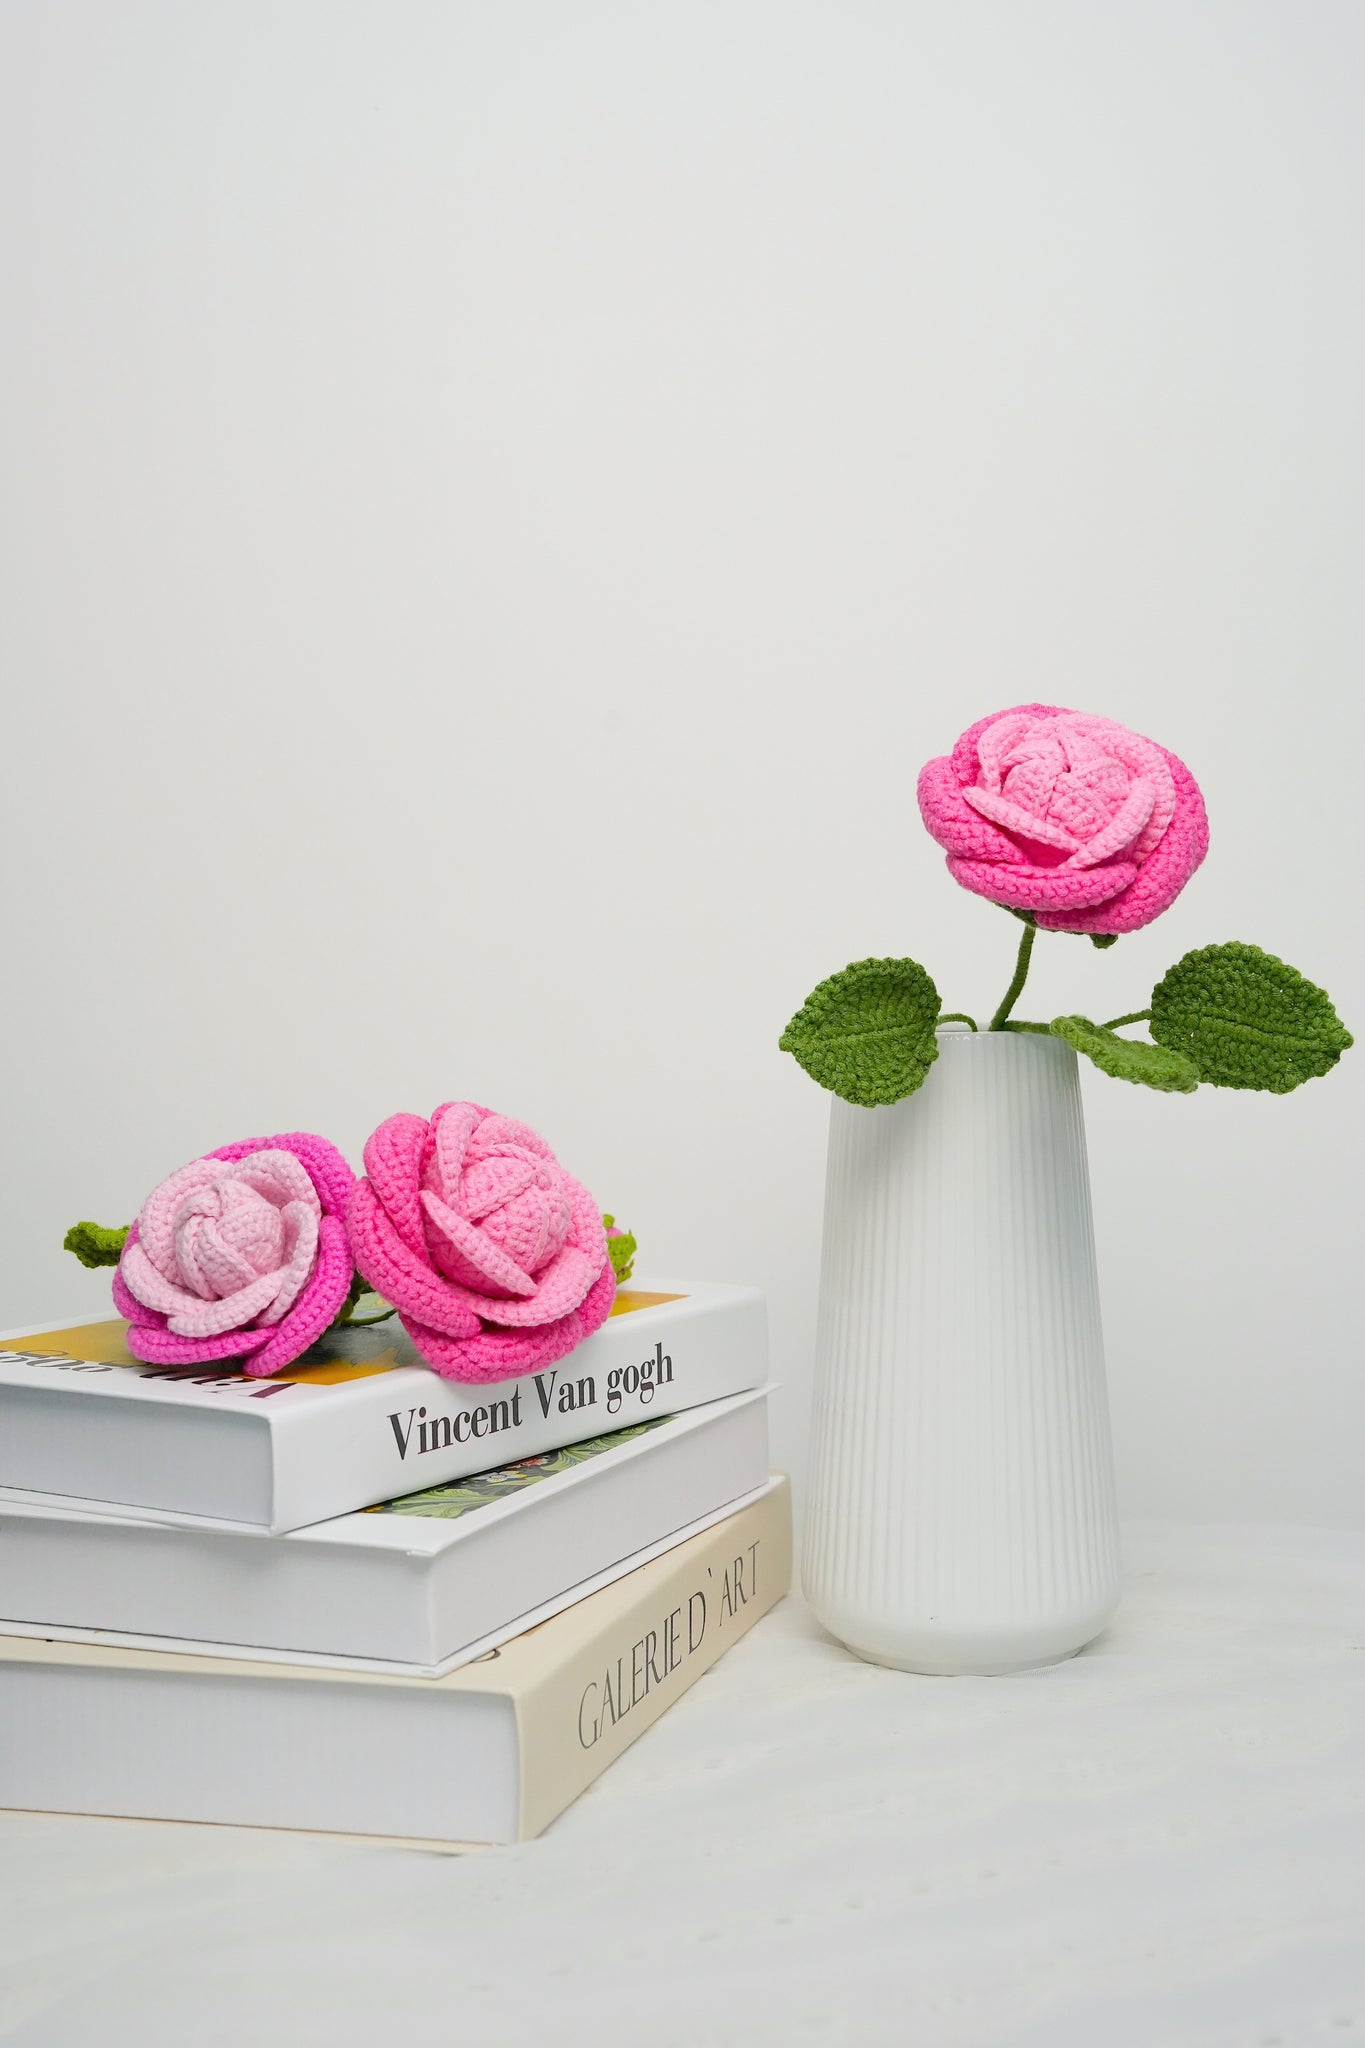
A single finished rose measures approximately 3-4 inches (7.5-10 cm) in diameter and stands about 10-12 inches (25-30 cm) tall, including the stem. For a stunning bouquet, consider creating 5-7 roses in varying shades of pink or red. A bouquet this size would make a beautiful centerpiece, standing about 12-14 inches (30-35 cm) tall and 8-10 inches (20-25 cm) wide when arranged.
Crochet China Rose Flower Kits
Bring the timeless beauty of China Roses into your home with our exclusive crochet kit! Perfect for crafters of all levels, this package includes everything you need to create a stunning bouquet of everlasting blooms. Ideal for gifts or home decor, these roses will bloom forever!
Materials Needed
- Yarn – 5-ply combed cotton (Green 09, Pink 19, Pink 20)
- Hook – 2.5mm
- Flower Rod – 30cm long (No.2)
- Iron wire – 0.4mm diameter
- Iron wire – 0.5mm diameter
- Needle Nose Pliers
- Hot melt adhesive
- Stitch marker
- Scissors
Abbreviations (US Terms)
- Ch - chain
- Sc - single crochet
- Dc - double crochet
- Sl - slip stitch
- Hdc - half double crochet
- Inc - increase
- Tr - treble crochet
- Dtr - double treble crochet
- Sk - skip
Crochet China Rose Pattern
How to crochet Small Petals (Make 5)
Create a magic ring.

Round 1: Chain 2, make 10 double crochet into the ring, slip stitch to join, chain 2.
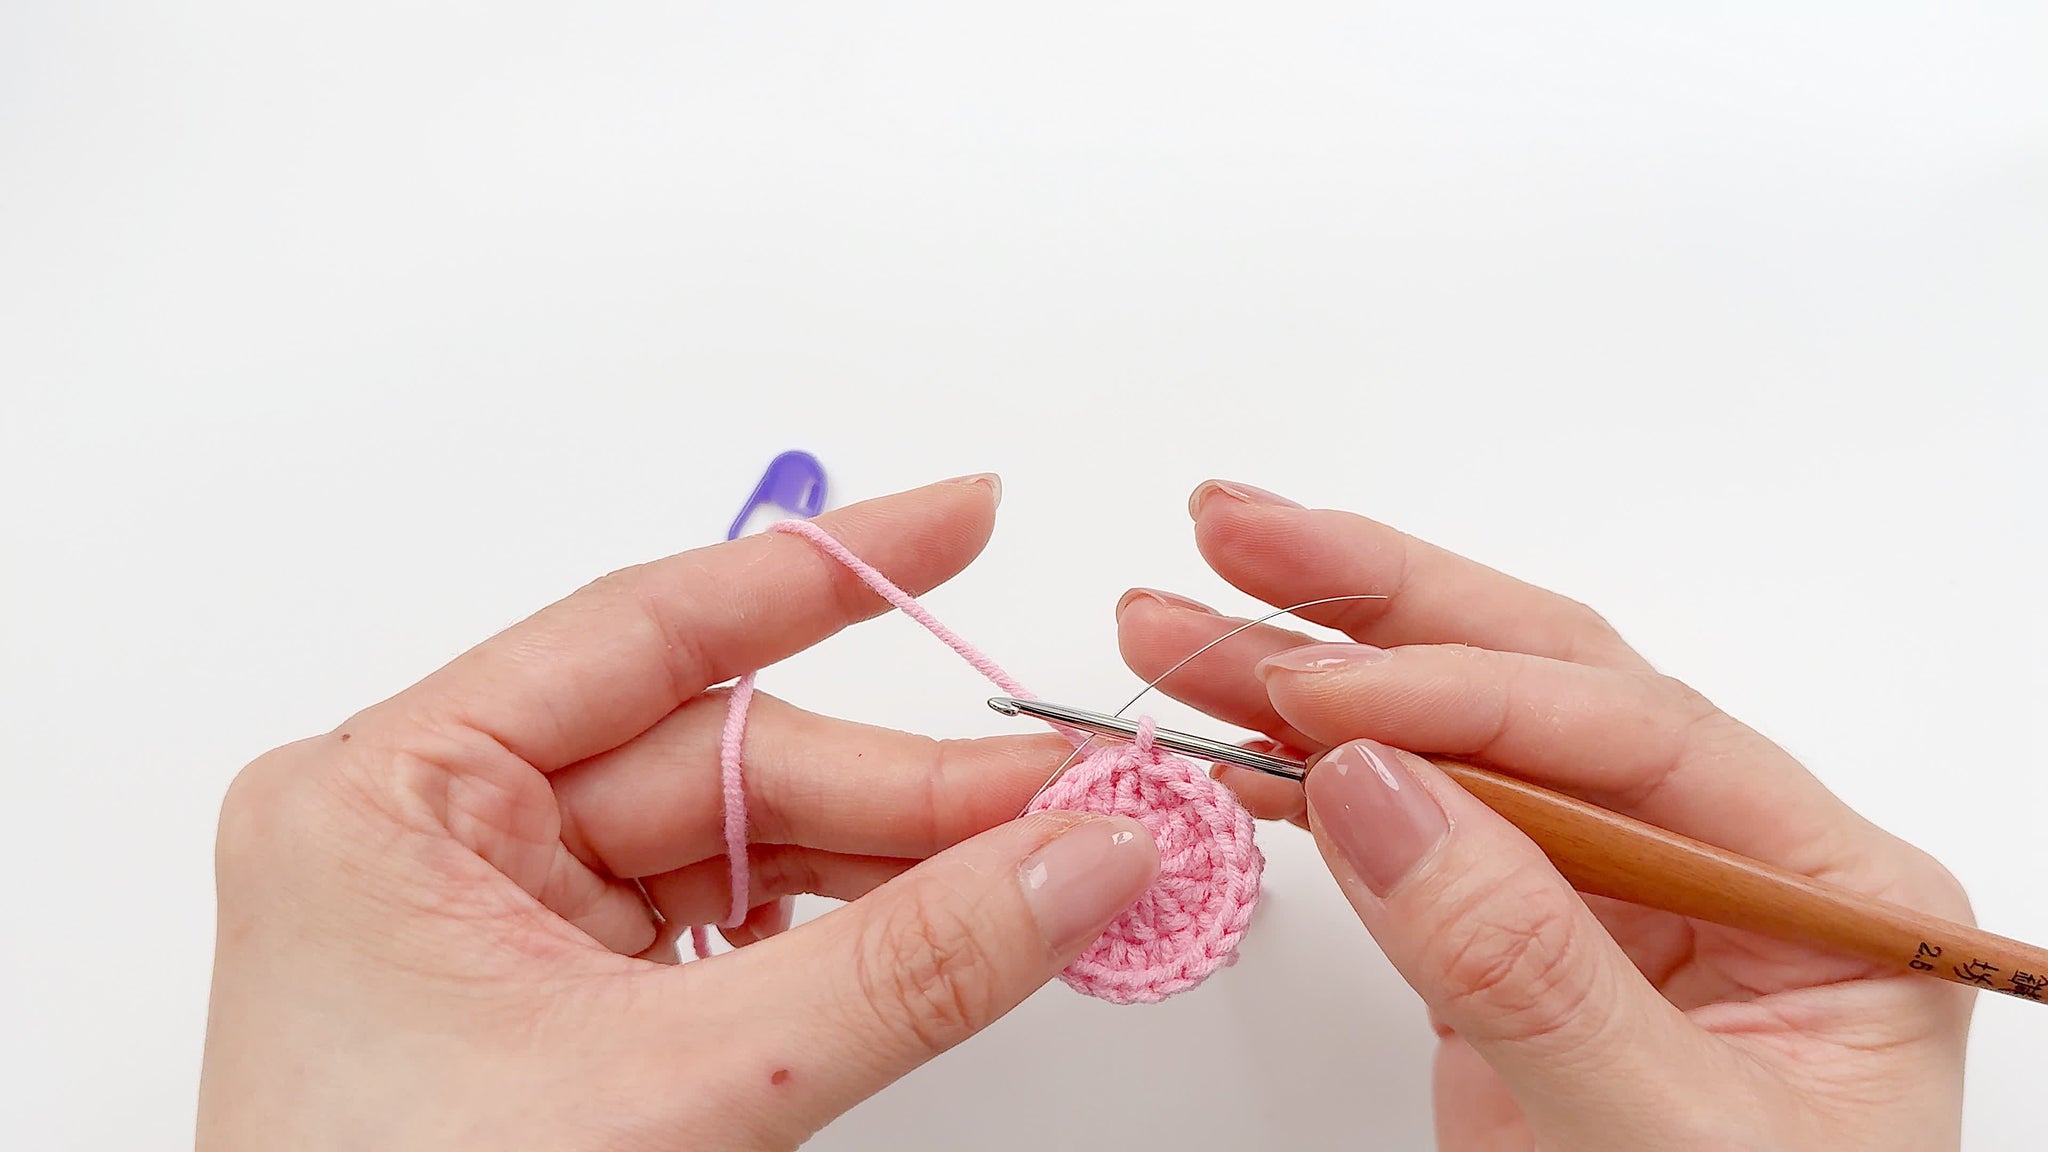
Round 2: Make 10 half double crochet increases (20 half double crochet total), slip stitch to join, add wire, chain 1.
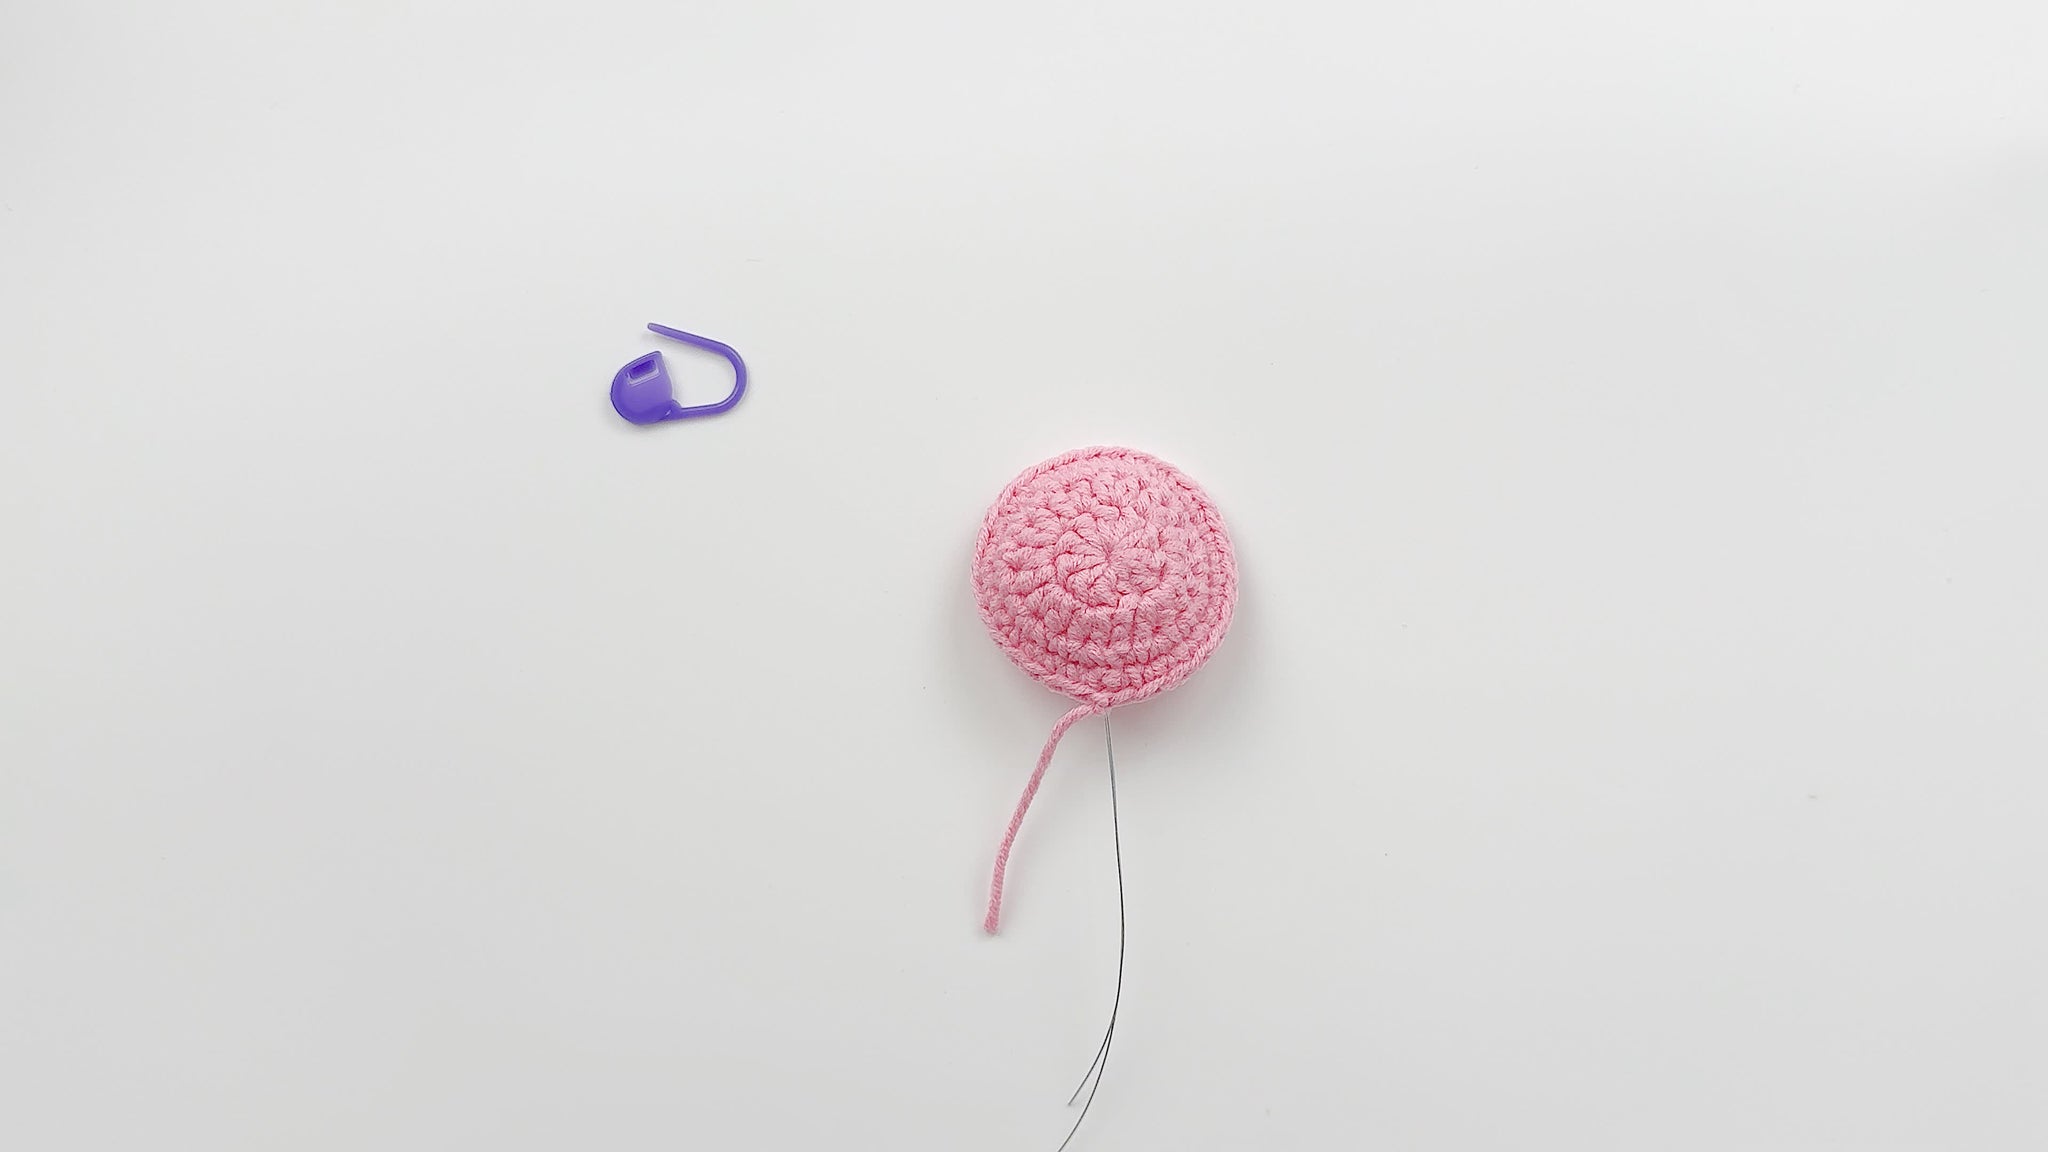
Round 3: Make 20 single crochet, slip stitch to join.
Tips: Ensure your magic ring is tight to create a solid center for your petal. Use stitch markers to keep track of your rounds.
How to Crochet Medium Petals (Make 5)
Create a magic ring.

Round 1: Chain 2, make 10 double crochet into the ring, slip stitch to join, chain 2.
Round 2: Make 10 half double crochet increases (20 half double crochet total), slip stitch to join, chain 1.

Round 3: (1 single crochet, 1 single crochet increase) 10 times (30 single crochet total), slip stitch to join, add wire, chain 1.
Round 4: Make 30 single crochet, slip stitch to join.
Tips: The medium petal is slightly larger than the small petal. Pay attention to your tension to ensure consistency across all petals. Adding wire in Round 3 helps maintain the petal's shape. Use stitch markers to keep track of your pattern repeats in Round 3.
How to Crochet Large Petals (Make 5)
Create a magic ring.

Round 1: Chain 2, make 10 double crochet into the ring, slip stitch to join, chain 2.
Round 2: Make 10 half double crochet increases (20 half double crochet total), slip stitch to join, chain 2.
Round 3: (1 half double crochet, 1 half double crochet increase) 10 times (30 half double crochet total), slip stitch to join, chain 1.

Round 4: (1 single crochet, 1 single crochet increase, 1 single crochet) 10 times (40 single crochet total), slip stitch to join, add wire, chain 1.
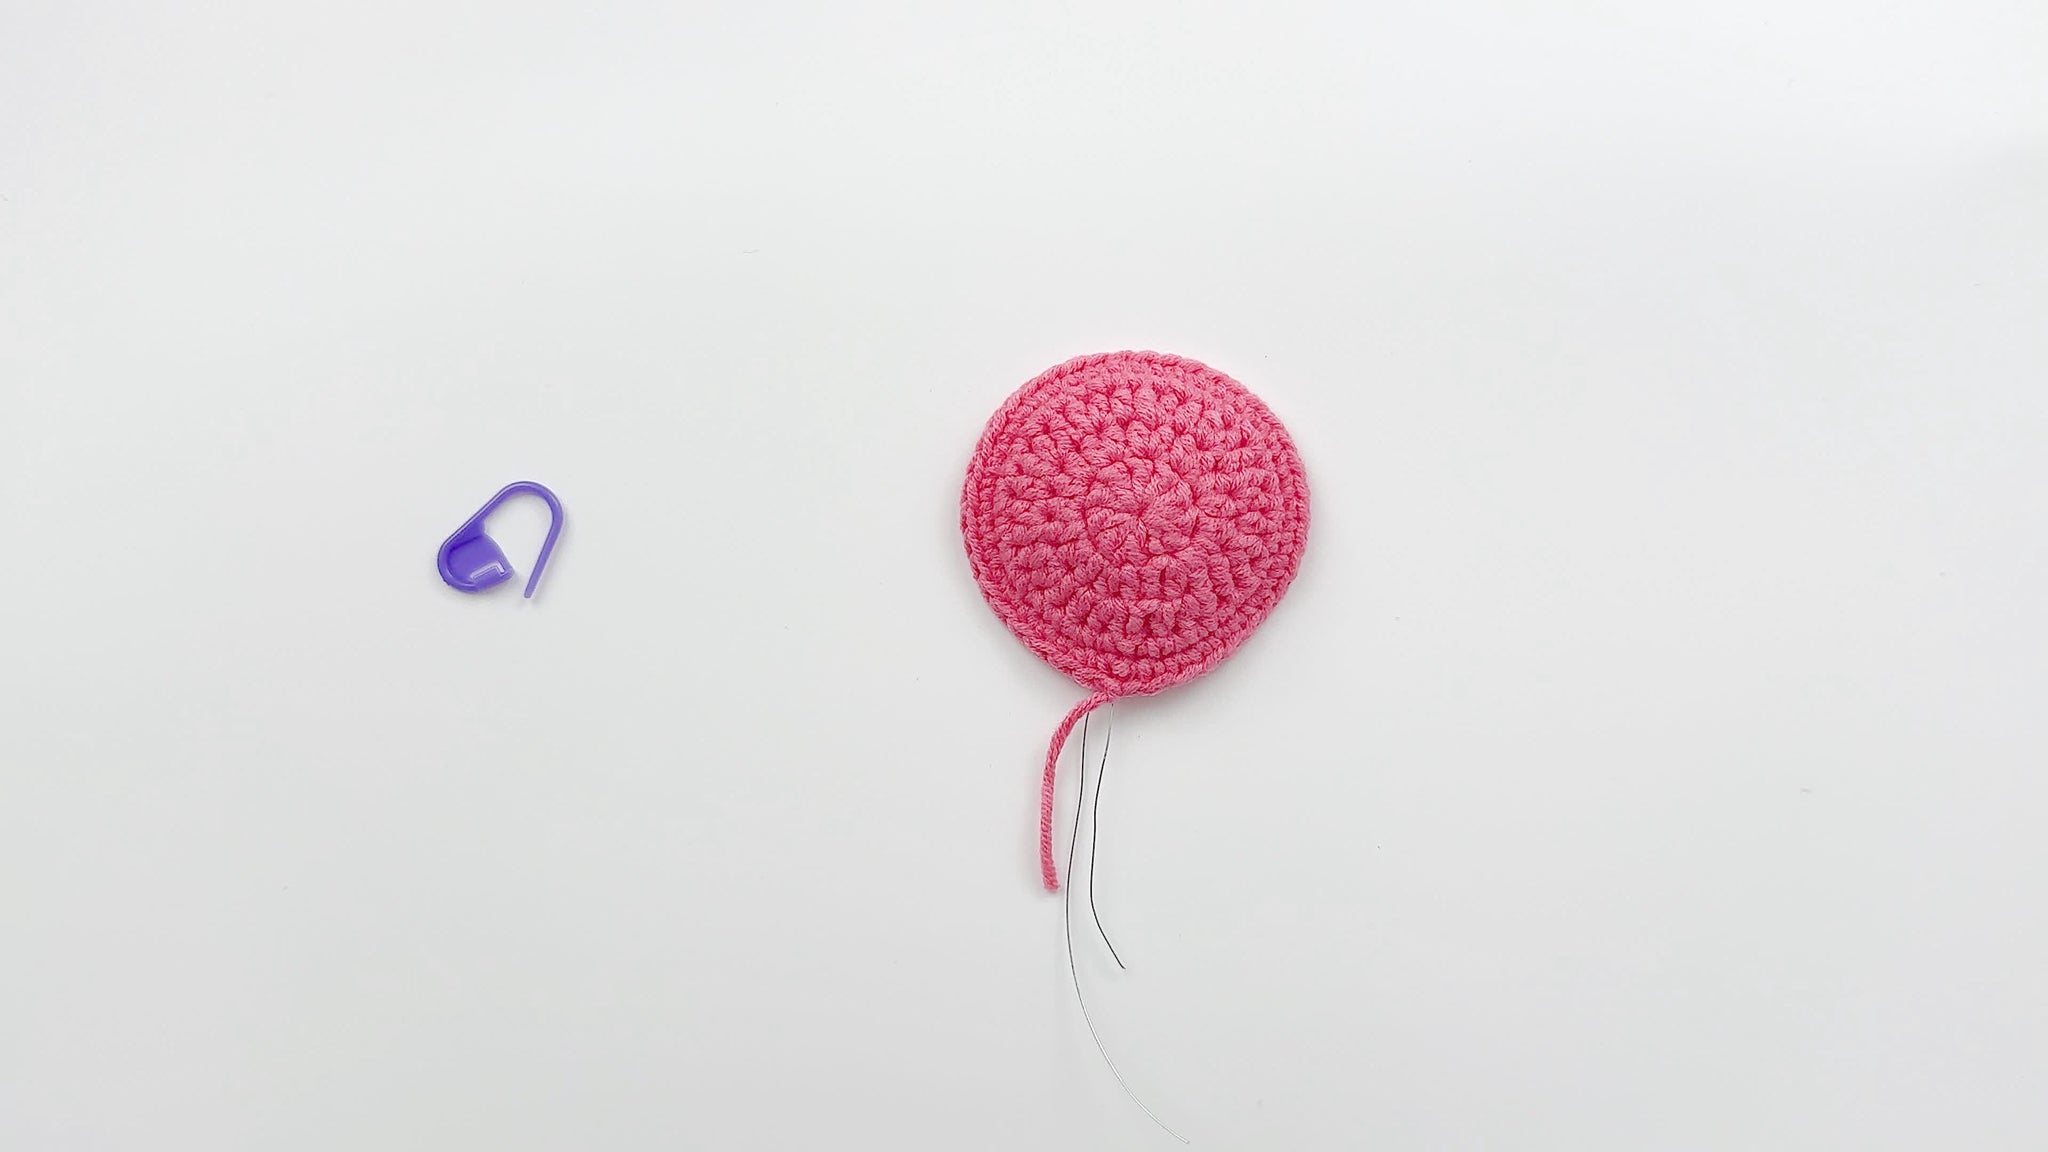
Round 5: Make 40 single crochet, slip stitch to join.
Tips: Crochet petals tightly for a more upright shape. The large petal creates the outer layer of your rose, so maintaining consistent tension is crucial for a balanced look. Adding wire in Round 4 helps support the larger petal size. Use stitch markers to keep track of your pattern repeats, especially in Rounds 3 and 4.
How to Crochet a Flower Base (Make 1)
Create a magic ring.

Round 1: Chain 1, make 5 single crochet into the ring, slip stitch to join, chain 1.
Round 2: Make 5 single crochet increases (10 single crochet total), slip stitch to join, chain 1.
Round 3: (1 single crochet, 1 single crochet increase) 5 times (15 single crochet total), slip stitch to join, chain 1.
Round 4: (1 single crochet, 1 single crochet increase, 1 single crochet) 5 times (20 single crochet total), slip stitch to join, chain 1.
Round 5: (3 single crochet, 1 single crochet increase) 5 times (25 single crochet total), slip stitch to join, chain 1.
Round 6: (2 single crochet, 1 single crochet increase, 2 single crochet) 5 times (30 single crochet total), slip stitch to join, chain 1.

Round 7: Make 30 single crochet, slip stitch to join.

Round 8: (Chain 7, slip stitch in 2nd chain from hook, 1 single crochet, 1 half double crochet, 1 double crochet, 2 treble crochet, skip 3 stitches, 3 slip stitch) 5 times, slip stitch to join.
Tips: The flower base forms the center of your rose. Ensure your magic ring is tight for a solid start. Use stitch markers to keep track of your pattern repeats, especially in the later rounds. Round 8 creates the sepals, which should be worked loosely to allow them to curve naturally.
How to Crochet Small Leaves (Make 2)
Round 1: Chain 10.
Round 2: Add wire to the last chain stitch, then starting from the 2nd chain from hook:
1 single crochet, 1 double crochet, 1 treble crochet, 1 double treble crochet, 1 double treble crochet increase, 1 treble crochet, 1 double crochet, 1 half double crochet, 3 single crochet in next stitch, 1 half double crochet, 1 double crochet, 1 treble crochet, 1 double treble crochet increase, 1 double treble crochet, 1 treble crochet, 1 double crochet, 1 single crochet, wrap yarn around wire once, slip stitch, chain 1.
Round 3: (1 single crochet, chain 2) 10 times, (1 single crochet, chain 2, slip stitch in first single crochet, 1 single crochet), (chain 2, 1 single crochet) 10 times. Leave 15cm yarn for wrapping wire.
Tips: To prevent exposed wire in leaves, you can add wire at the last chain stitch of the first round. After the first round, wrap yarn around wire once before slip stitching.
How to Crochet a Large Leaf (Make 1)

Round 1: Chain 12.

Round 2: Add wire to the last chain stitch, then starting from the 2nd chain from hook:
1 single crochet, 1 double crochet, 1 treble crochet, 2 double treble crochet, 1 double treble crochet increase, 1 double treble crochet, 1 treble crochet, 1 double crochet, 1 half double crochet, 3 single crochet in next stitch, 1 half double crochet, 1 double crochet, 1 treble crochet, 1 double treble crochet, 1 double treble crochet increase, 2 double treble crochet, 1 treble crochet, 1 double crochet, 1 single crochet, wrap yarn around wire once, slip stitch, chain 1.

Round 3: (1 single crochet, chain 2) 12 times, (1 single crochet, chain 2, slip stitch in first single crochet, 1 single crochet), (chain 2, 1 single crochet) 12 times. Leave 15cm yarn for wrapping wire and two small leaves.
Tips: The large leaf adds a touch of realism to your China Rose, boasting a fuller shape with more stitches than its smaller counterparts. As you work through Round 2, pay special attention to your tension – this is key to achieving a beautifully symmetrical leaf. When you reach Round 3, the slip stitch creates a delicate point, mimicking nature's design. Remember to leave plenty of extra yarn at the end; you'll need it not only to secure the leaf to the stem but also to connect it with the smaller leaves, creating a cohesive and lifelike foliage arrangement for your crocheted bloom.
Crochet China Rose Assemble
How to Assemble Petals and Flower Base
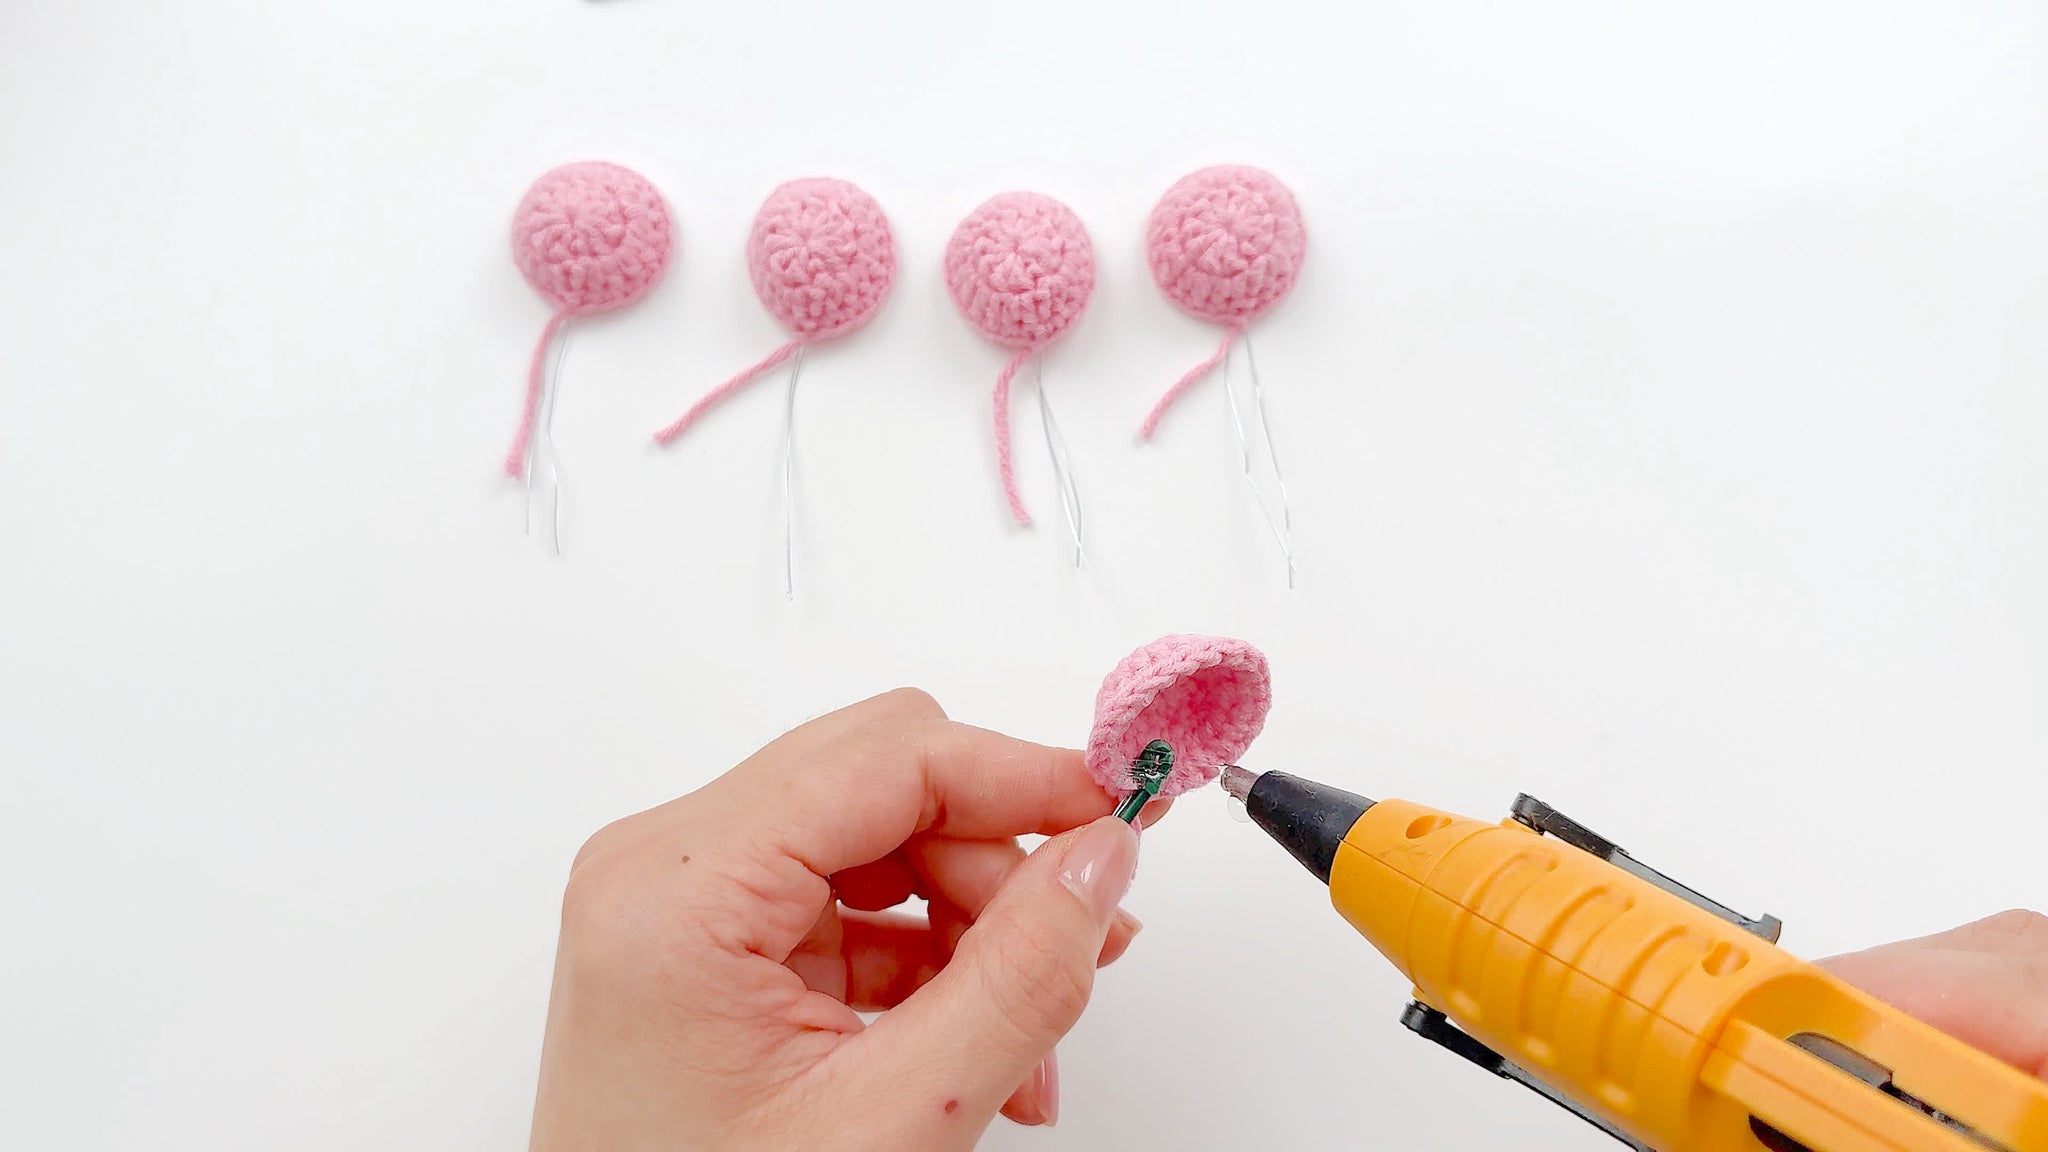
Step 1: Prepare the Small Petals
- Bend #2 floral wire with needle-nose pliers
- Secure the wire to the bottom of a small petal using glue
- Repeat for all small petals
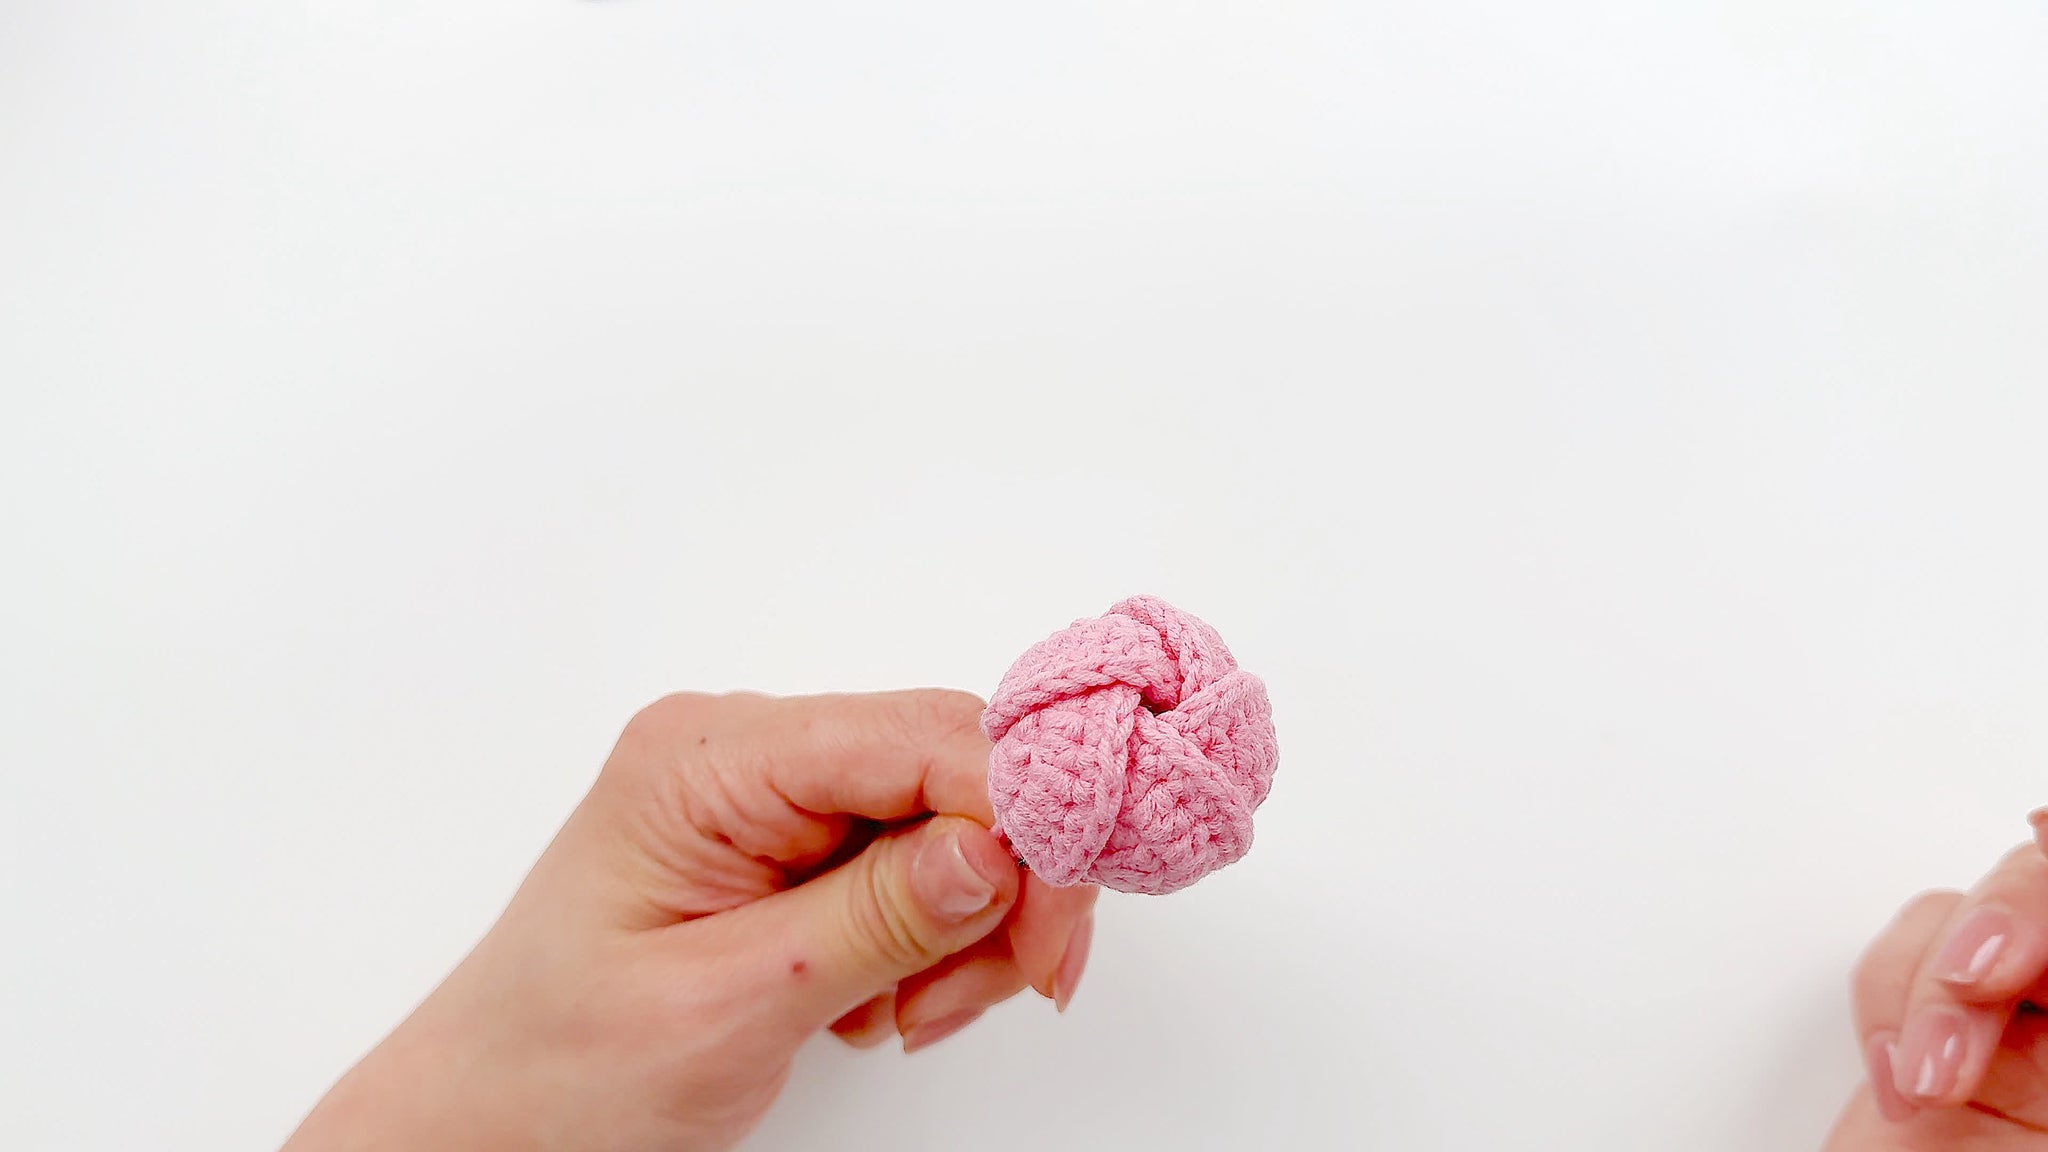
Step 2: Arrange Small Petals
- Glue 4 small petals in a circular pattern around the center
- Ensure even spacing for a natural look
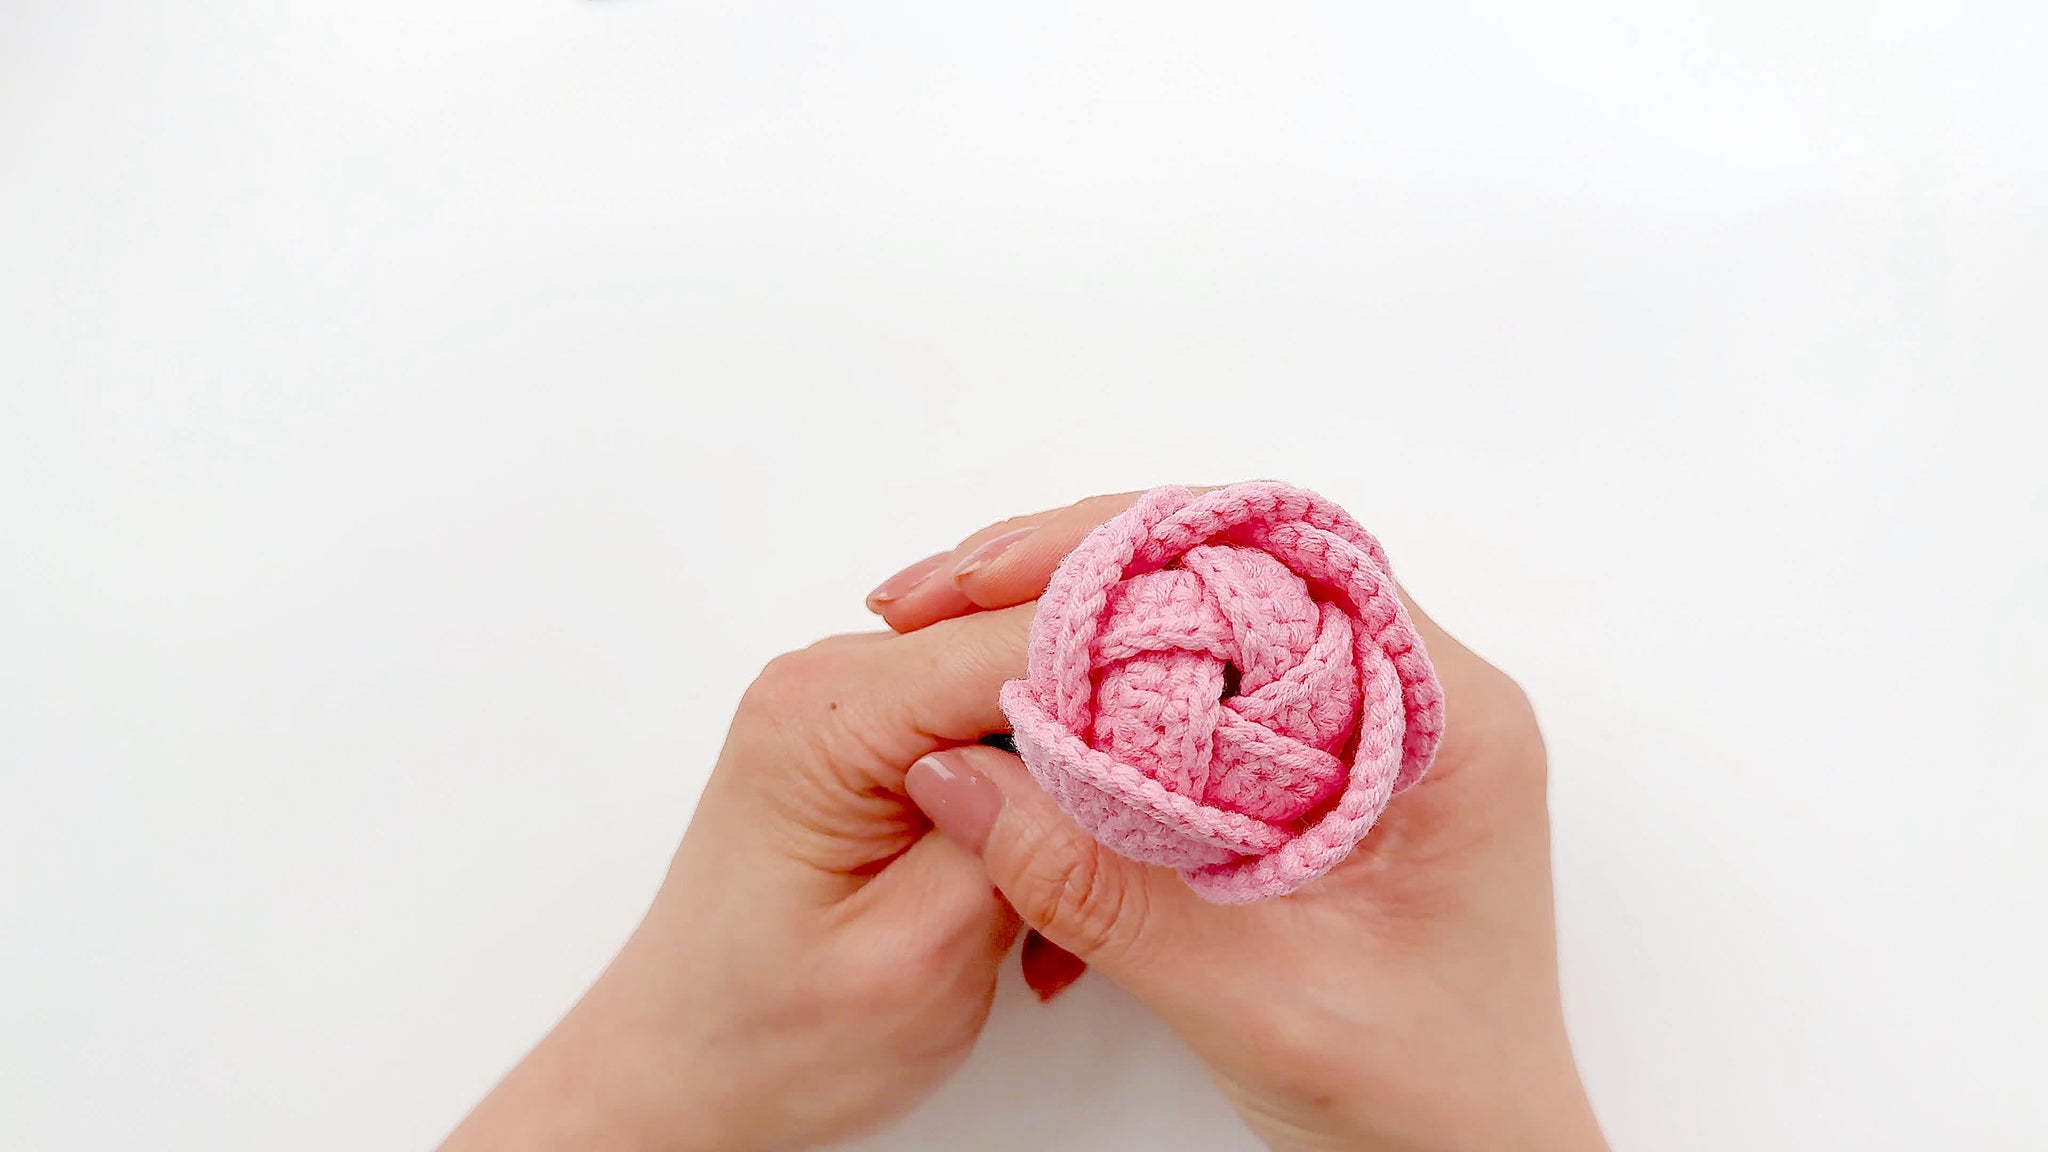
Step 3: Add Medium Petals
- Glue medium petals in a layer surrounding the small petals
- Overlap slightly for fullness
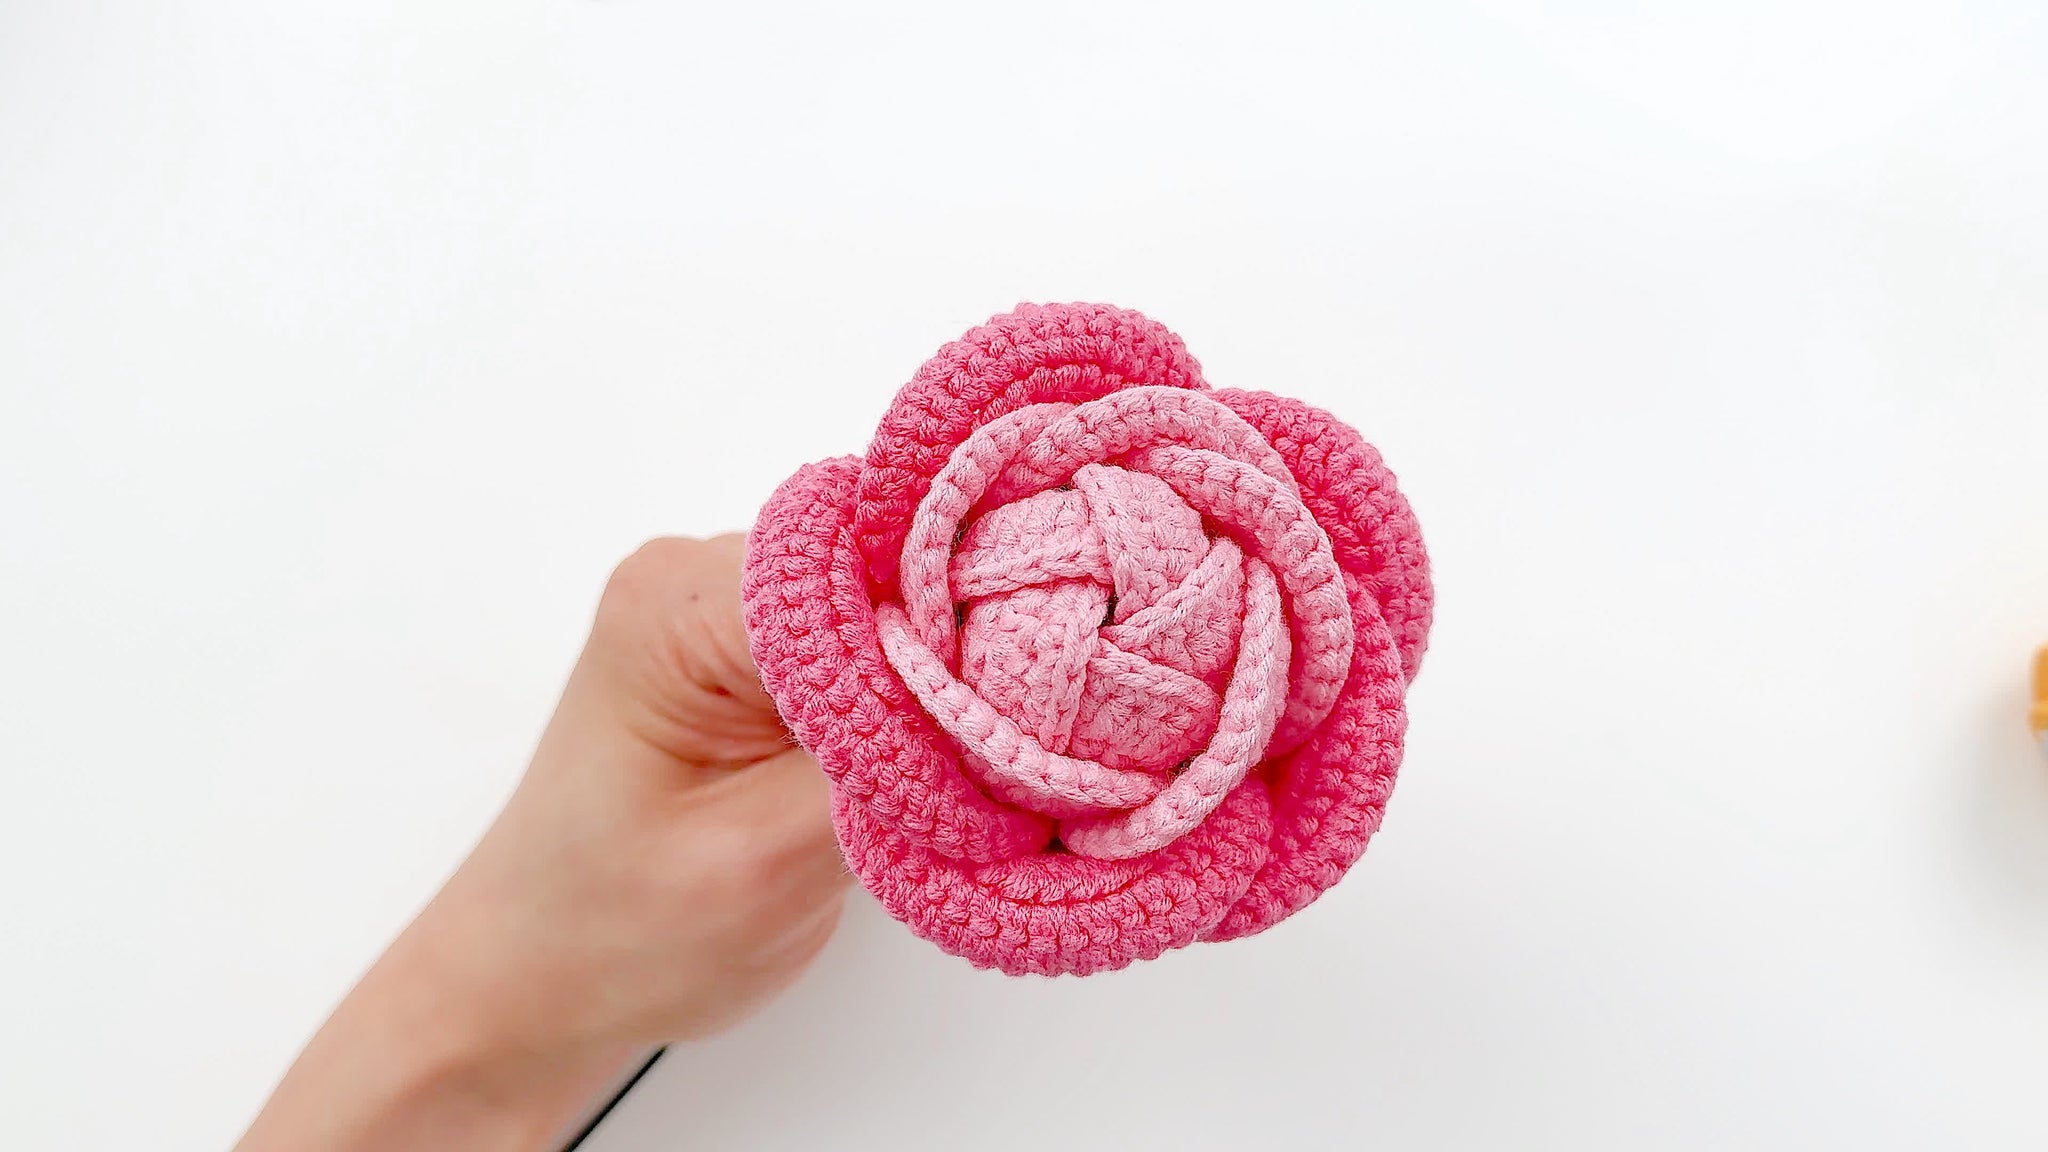
Step 4: Attach Large Petals
- Glue large petals as the outermost layer
- Position them to create a blooming effect
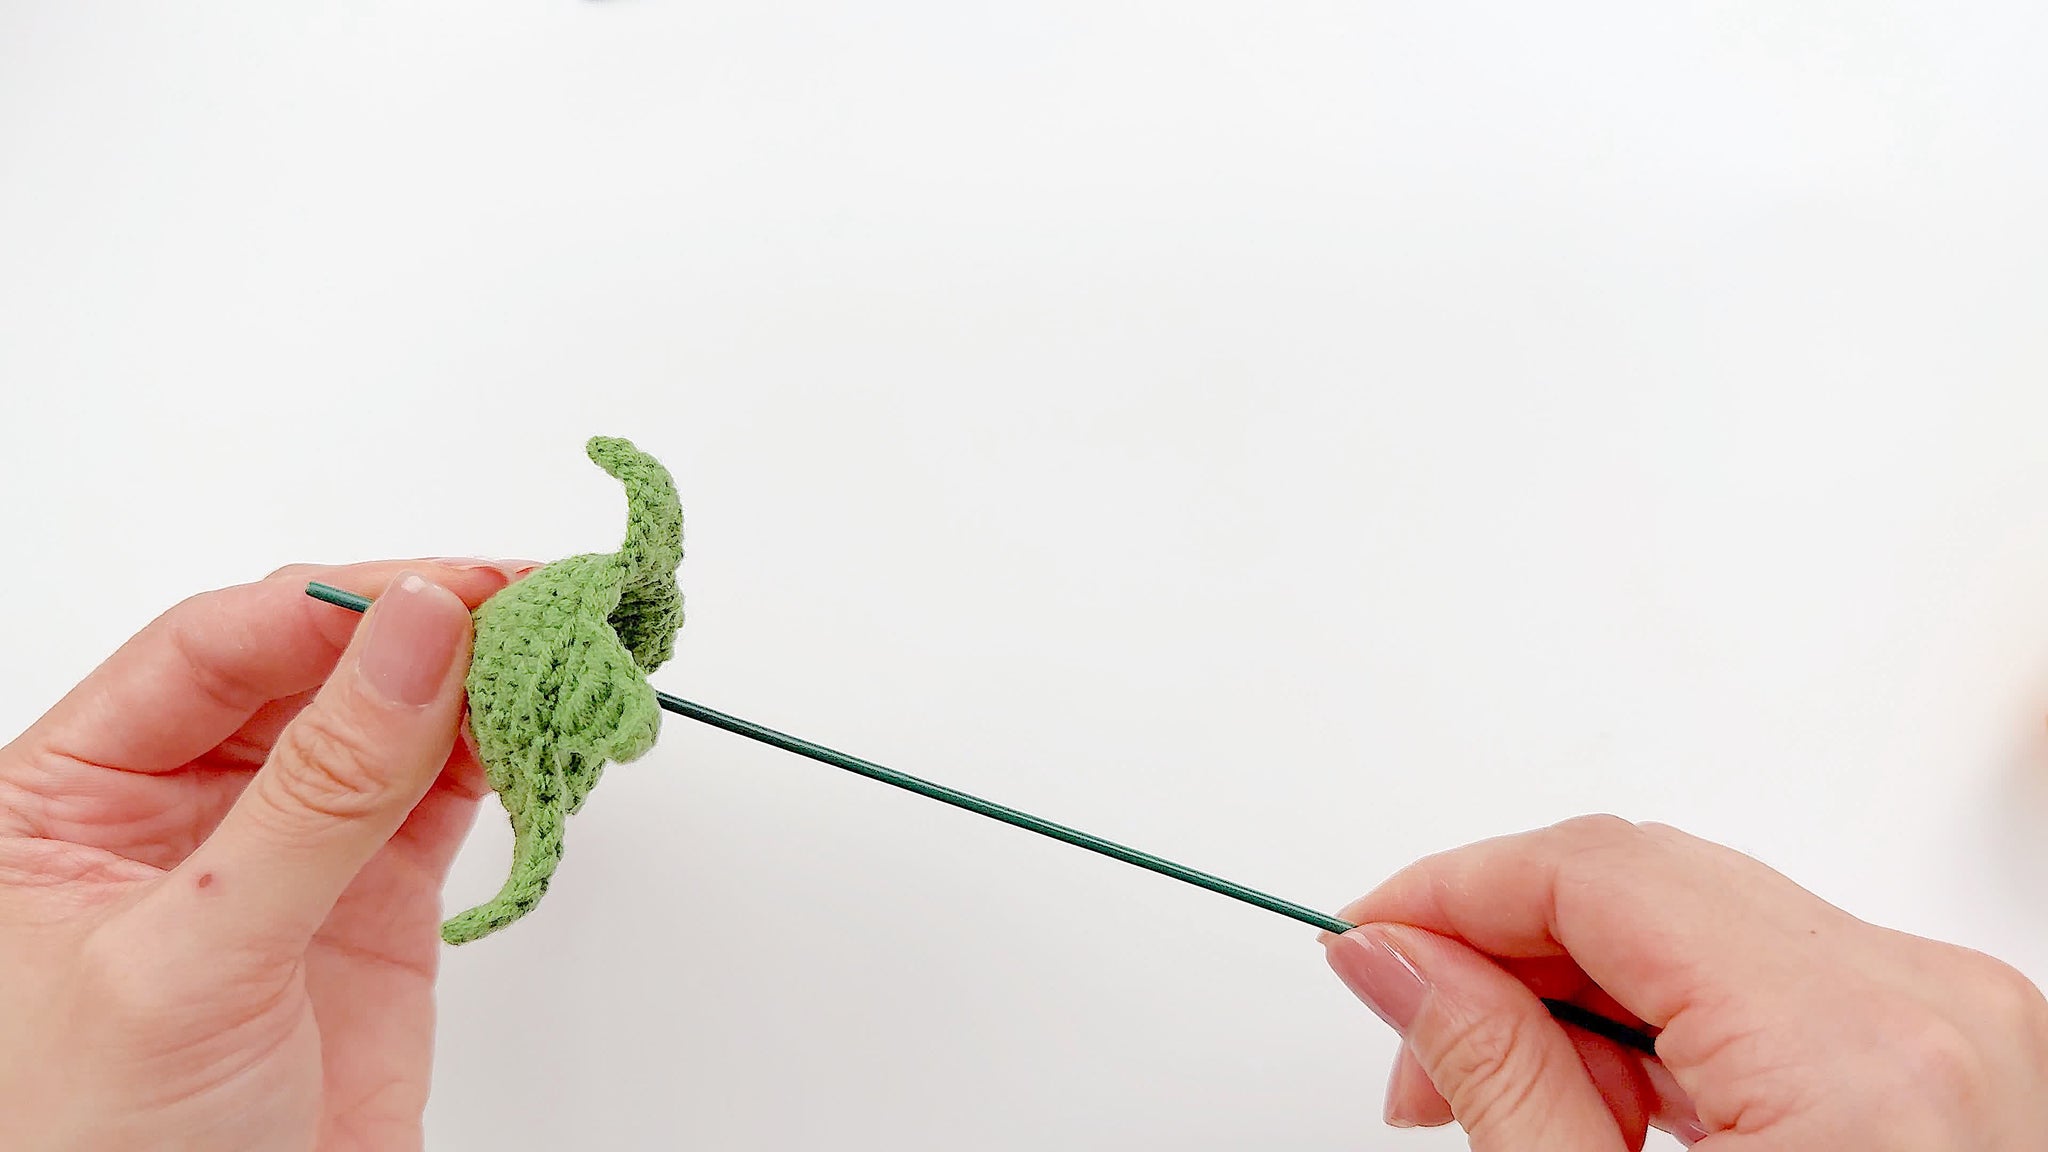
Step 5: Secure Flower to Base
- Insert stem through the flower base center
- Apply a small amount of glue to each sepal
- Attach the assembled petals to the flower base
Tips: After assembling all petals, gently bend each one outward to create a naturally blooming appearance. This simple touch adds life and realism to your crocheted rose. Once the petal assembly is complete, trim any excess wire from the petals for a neater stem, enhancing the overall look of your flower. When using a glue gun throughout the process, remember to hold each piece in place for 3 seconds to ensure proper adhesion. This patience will result in a sturdy, long-lasting rose.
How to Assemble Stem and Leaves
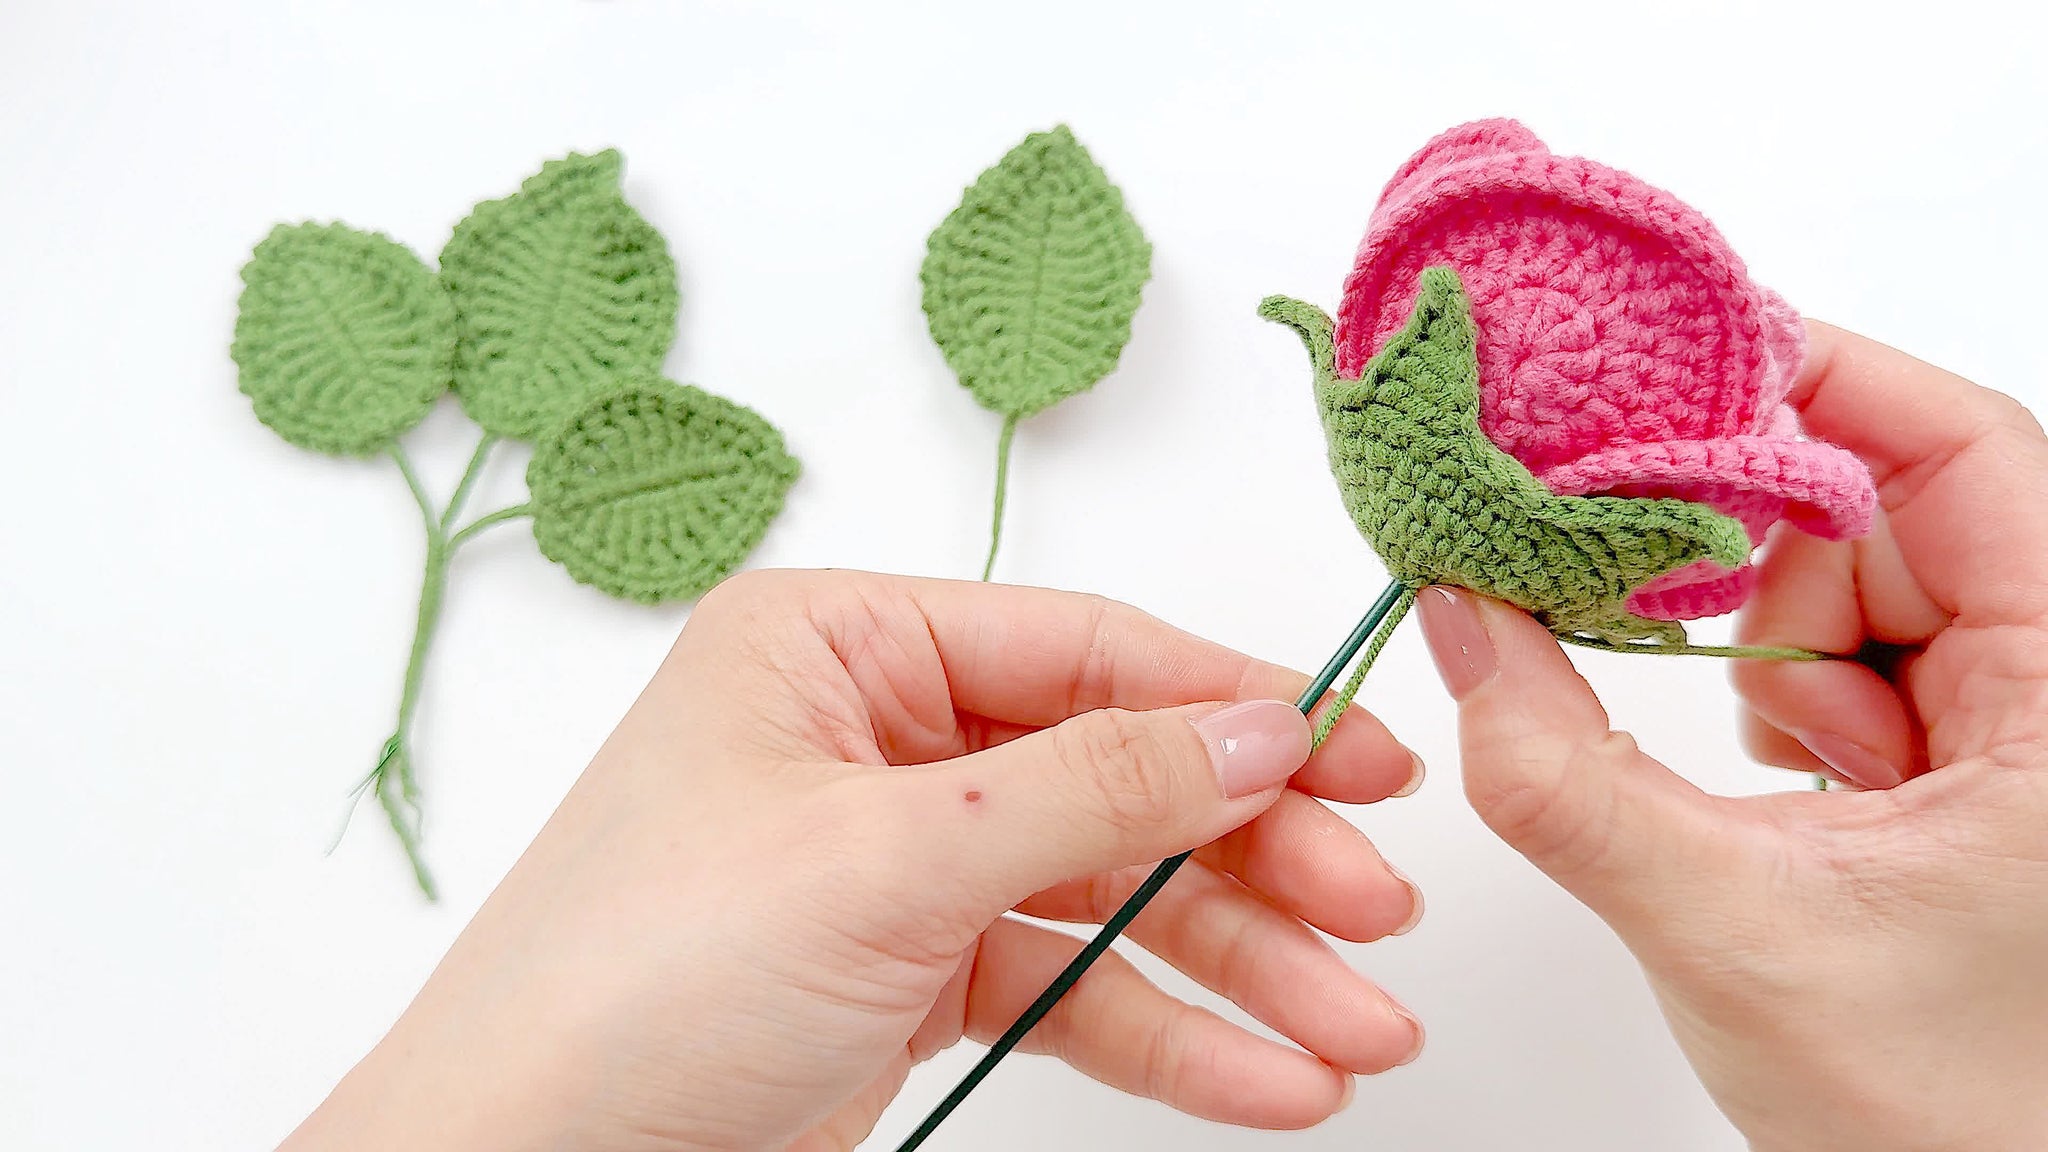
Step 1: Begin Stem Wrapping
Start by tightly wrapping yarn from the bottom of the flower base. This initial wrapping is crucial as it creates a smooth transition from the flower to the stem. Maintain consistent tension as you wrap to ensure a uniform and sturdy stem base.
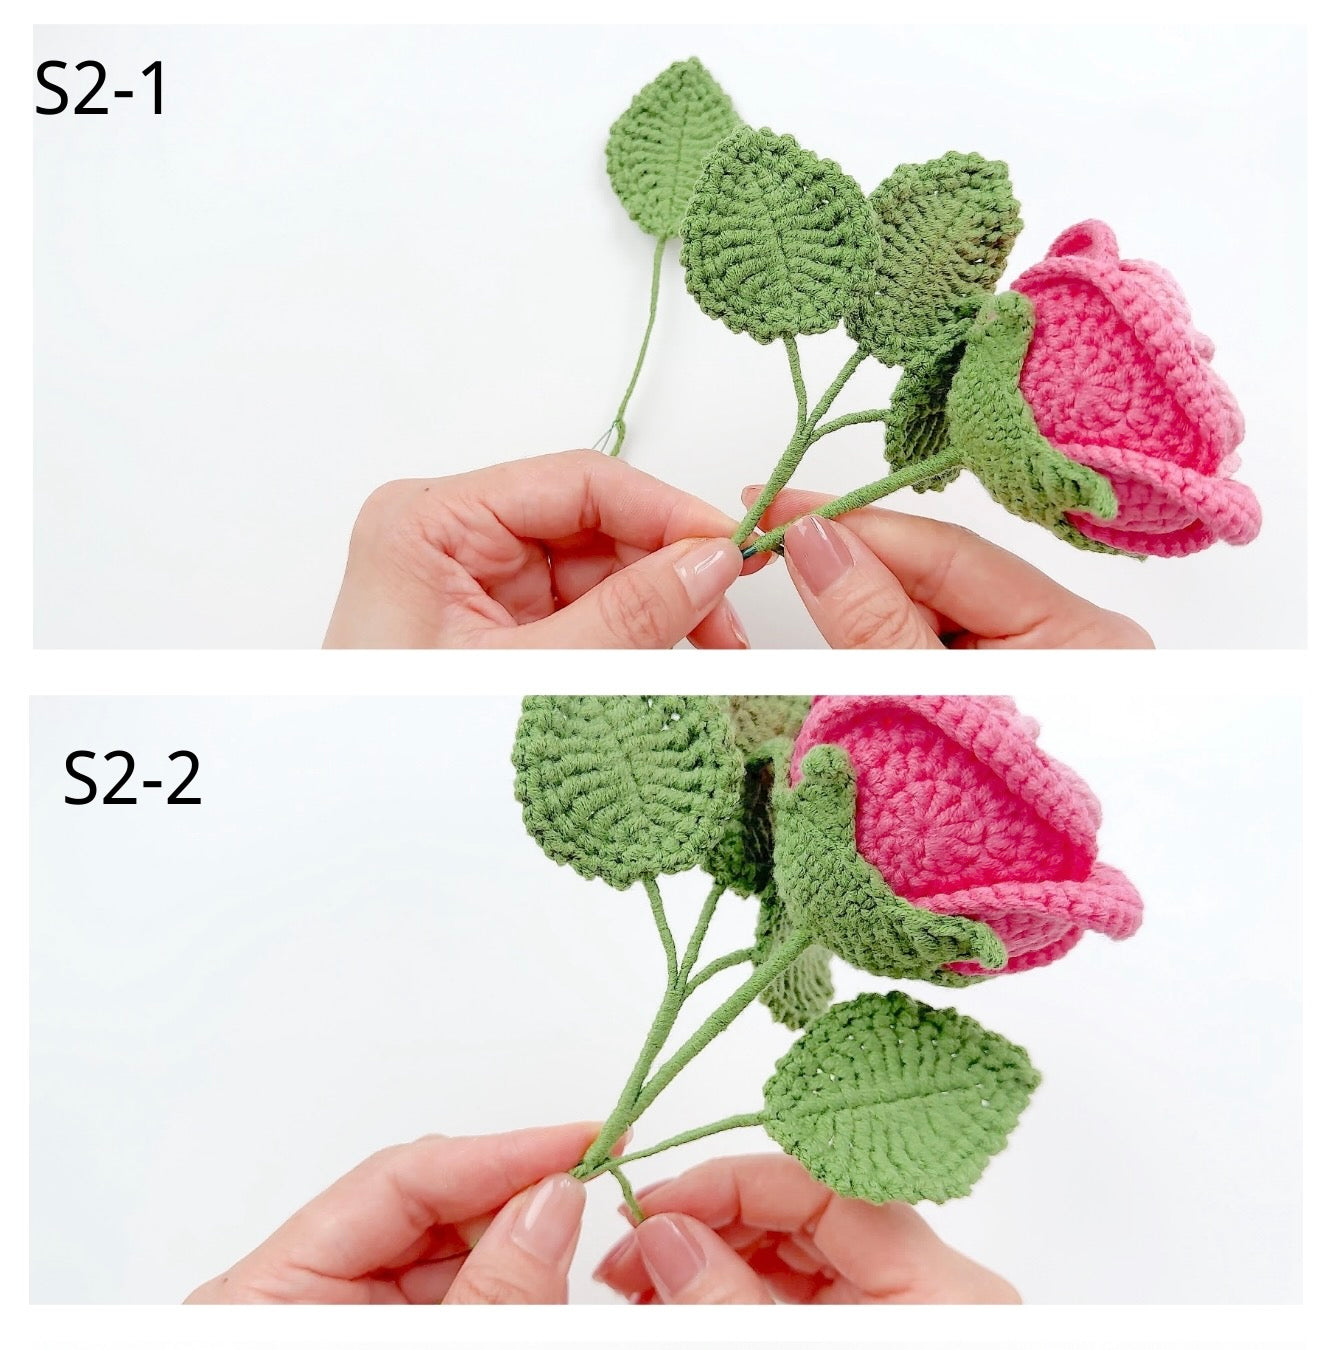
Step 2: Add Leaves and Continue Wrapping
As you continue wrapping to your desired stem length, strategically add leaves in sequence. Position the leaves at varying angles and heights along the stem for a natural look. This gradual addition of foliage creates depth and realism in your China Rose.
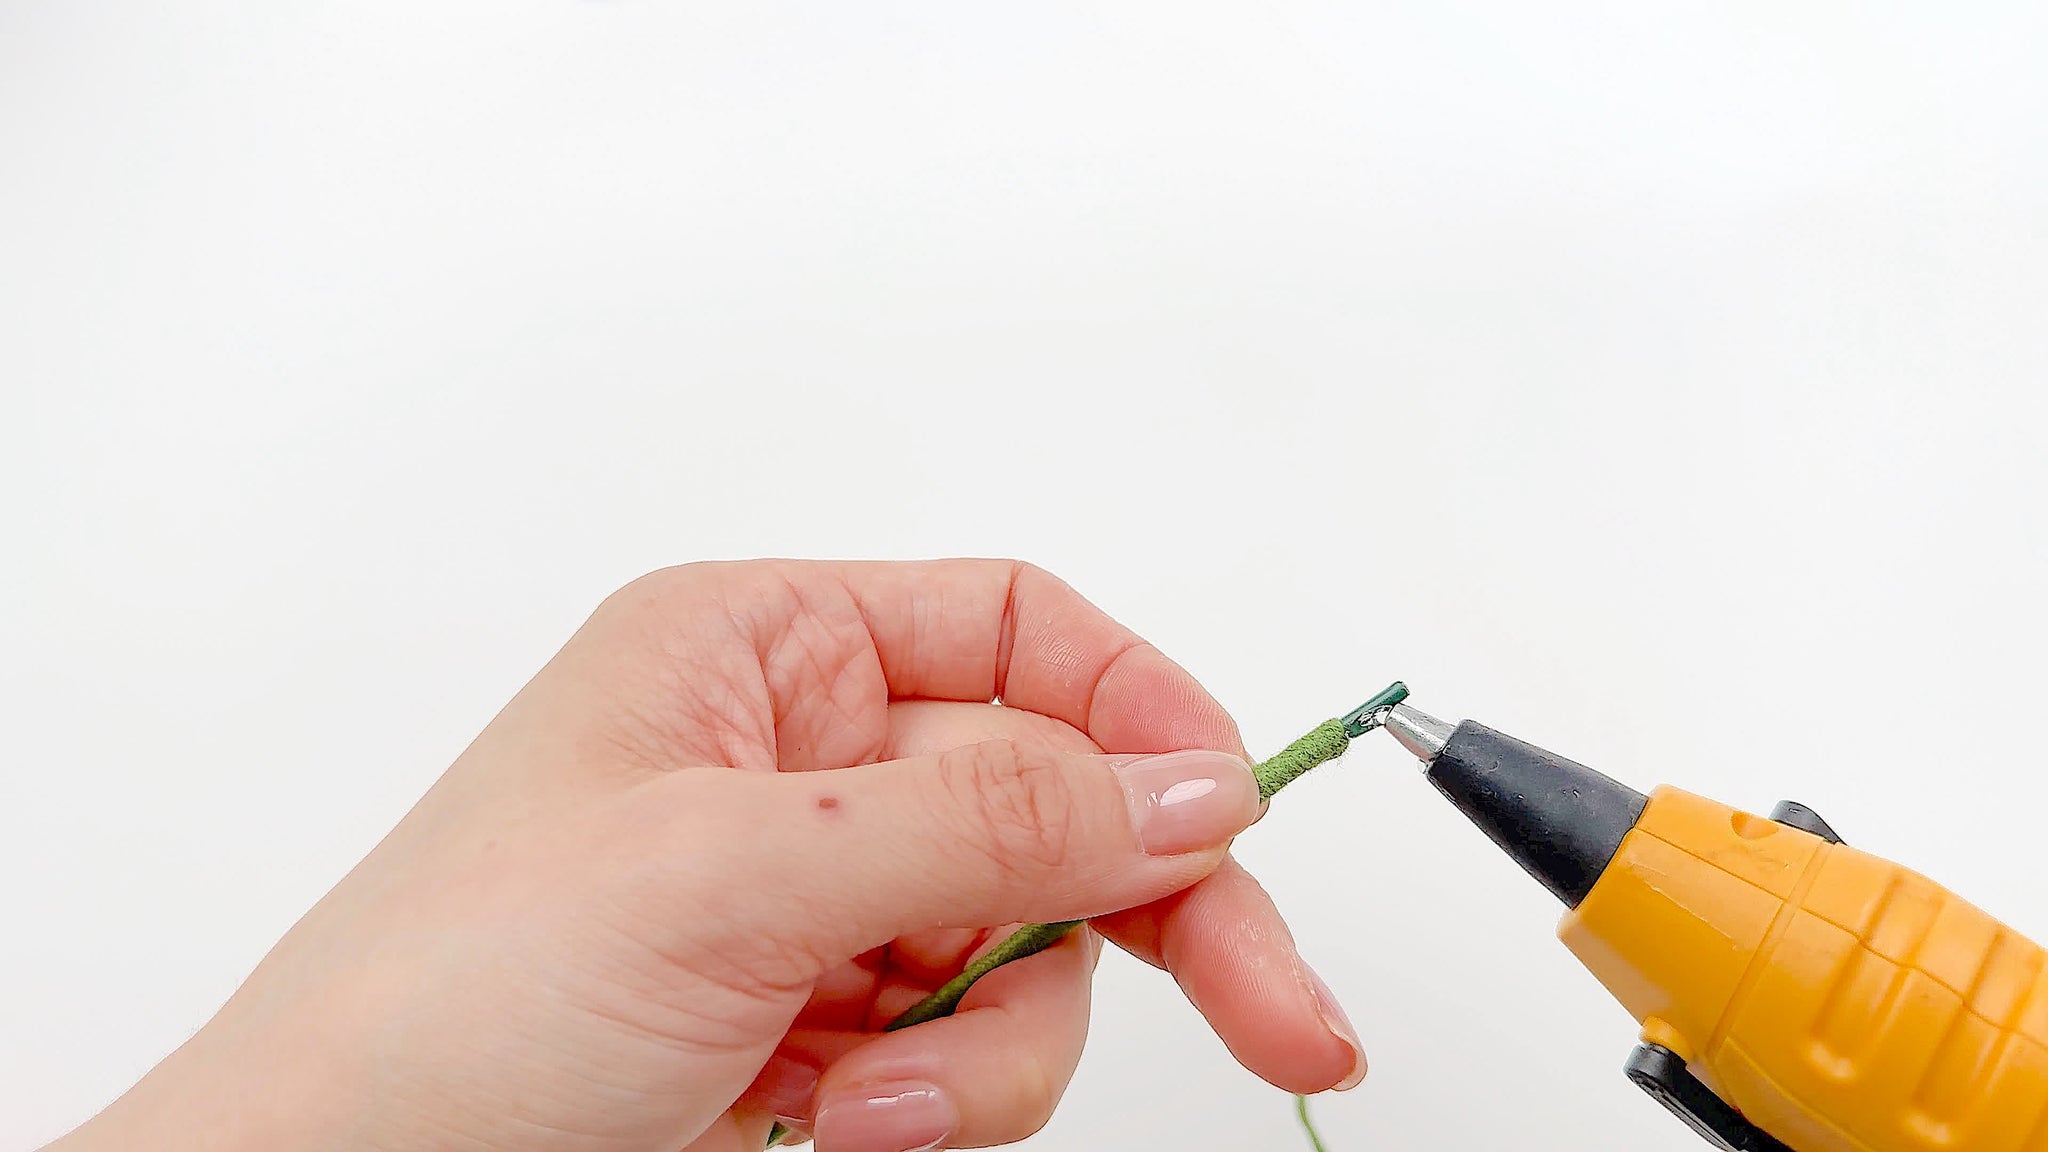
Step 3: Finish and Secure the Stem
Continue the tight wrapping until you reach the end of your desired stem length. To complete the assembly, secure the end of the yarn with a small amount of glue. This final step ensures the stem stays intact and provides a neat finish to your crocheted flower.
Tips: Remember to maintain even tension throughout the wrapping process for a professional look. When adding leaves, consider their placement carefully to mimic natural growth patterns. Don't hesitate to adjust leaf positions before securing them permanently. The overall balance between the flower, stem, and leaves is key to creating a beautiful and lifelike China Rose.
More Free Crochet Patterns
If you love to crochet, I think you’ll enjoy these lovely flowers.
What's Next?
Did you enjoy crafting this beautiful China Rose? Share your creation and inspire others! Post your finished flower on Facebook, Pinterest, Instagram, or Twitter . Let's spread the joy of crochet and celebrate handmade beauty together! Don't forget to tag us and use #CrochetChinaRose!


